Super Cub Aileron Upgrade (part 1)
I finally took the plunge and started to upgrade my HobbyZone Super Cub R/C airplane with ailerons. This will let me do lots of new aerobatics, including rolls, the split-S, Immelmans, Cuban 8’s, and others. I’ve photodocumented the process for your enjoyment.
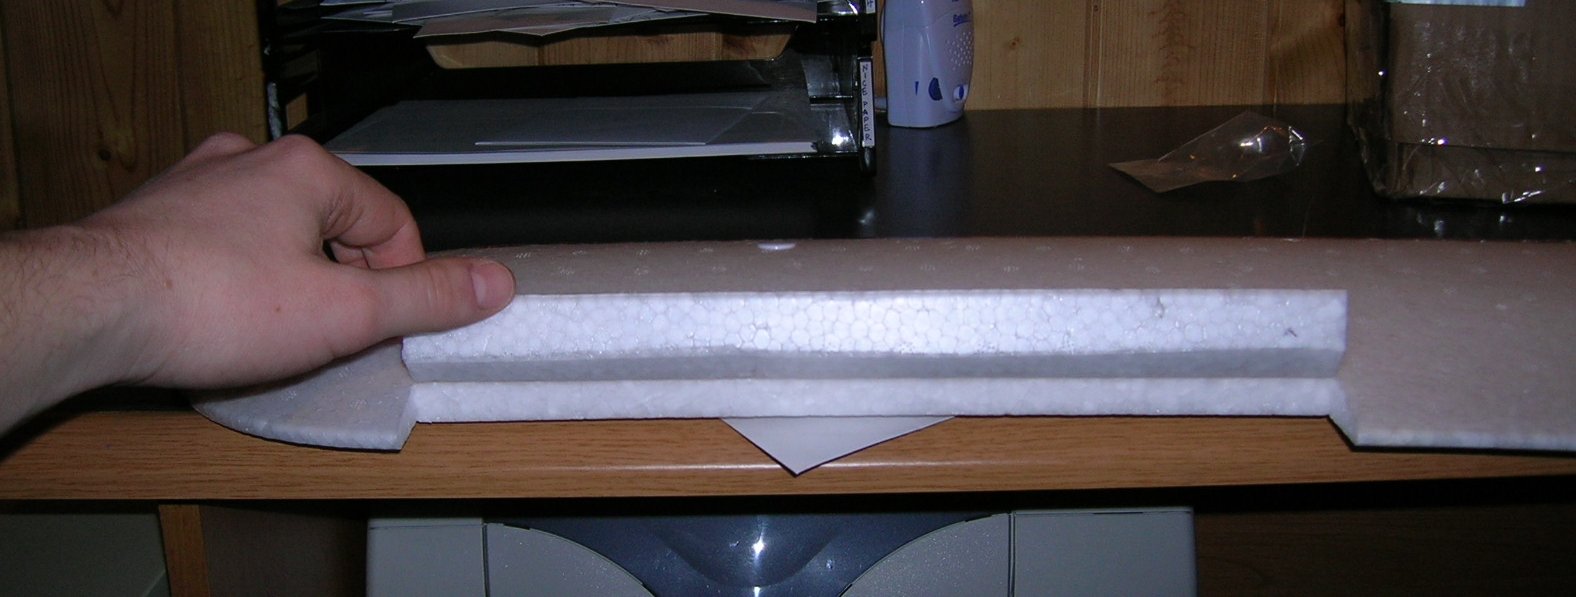
I started by taping a yard stick to the wing as a cutting guide. This proved very useful.
I placed the inward side of the yard stick against the plastic reinforcer in the center of the wing. I cut my aileron from the 5″ mark, out to the 17″ mark. This makes for a foot-long aileron, which should be more than enough. I wonder now if I shouldn’t have cut the aileron all the way to the wing tip. I’ll report on that later.
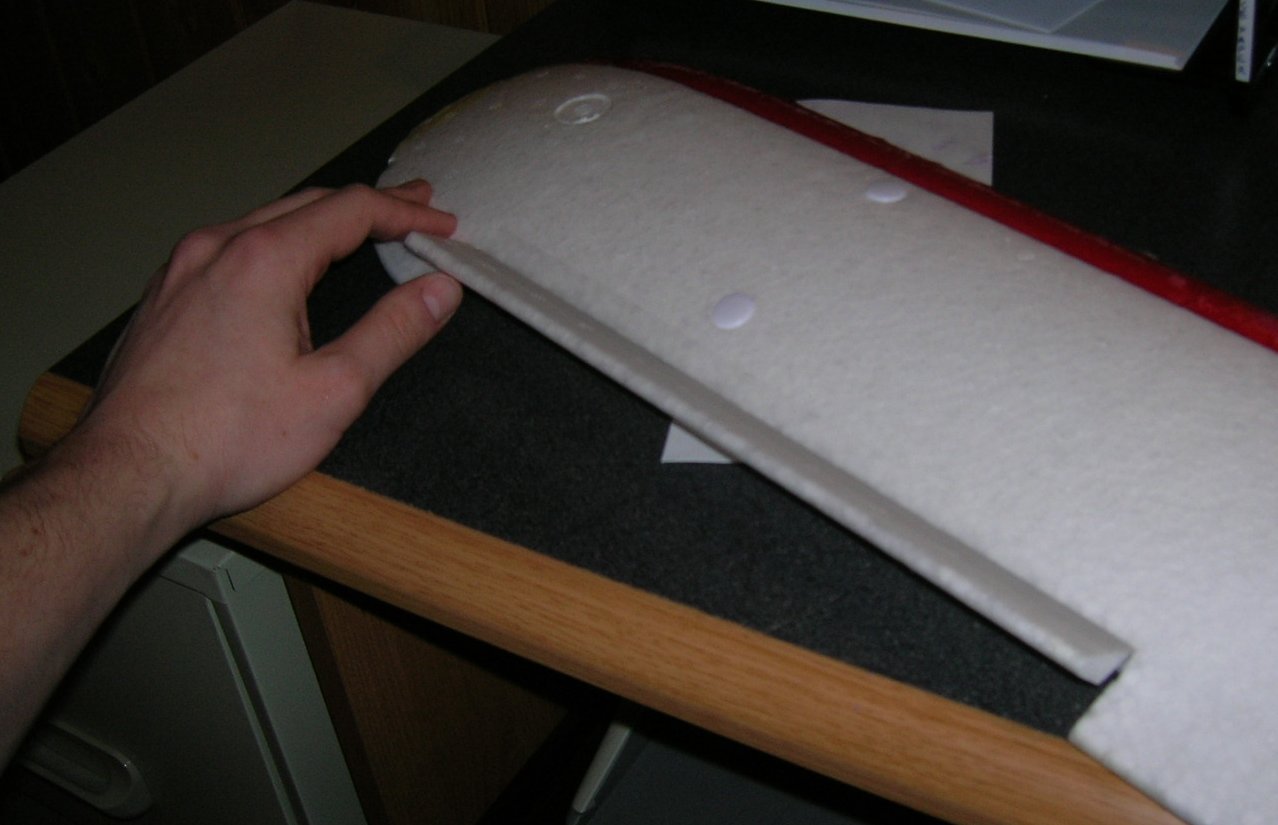
The next step was to perform the cut, taking care to keep the blade straight along the edge of the yard stick, and also perpindicular to the wing surface. I cut the wing with it upside down, so I could work with the flat surface. Here’s the cut out:
Next I did the same thing to the other side of the wing. I labeled the two ailerons with an “L” and an “R” so I wouldn’t get them mixed up (I’ve been known to do that kind of thing).
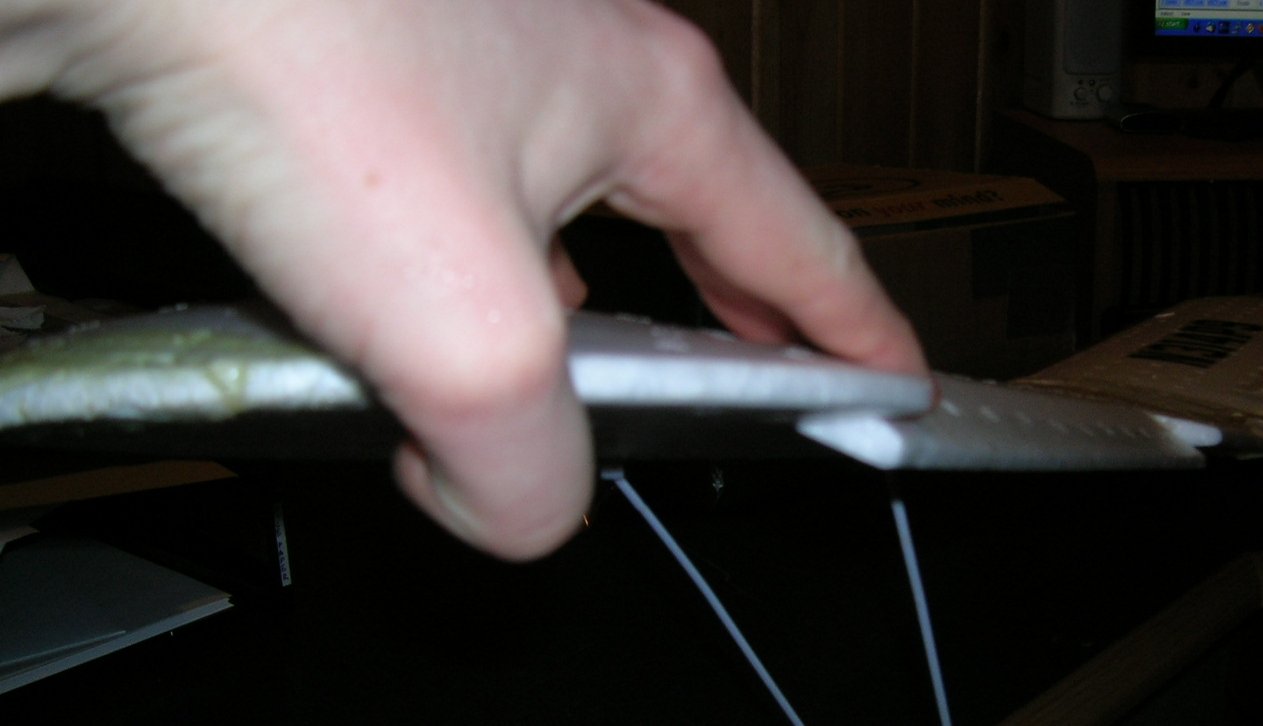
Then I set each aileron on the desk and free-hand cut away the inside edge to give it room to pivot. I cut it at abou 45 degrees. It’s not a perfect cut, but it’s good enough.
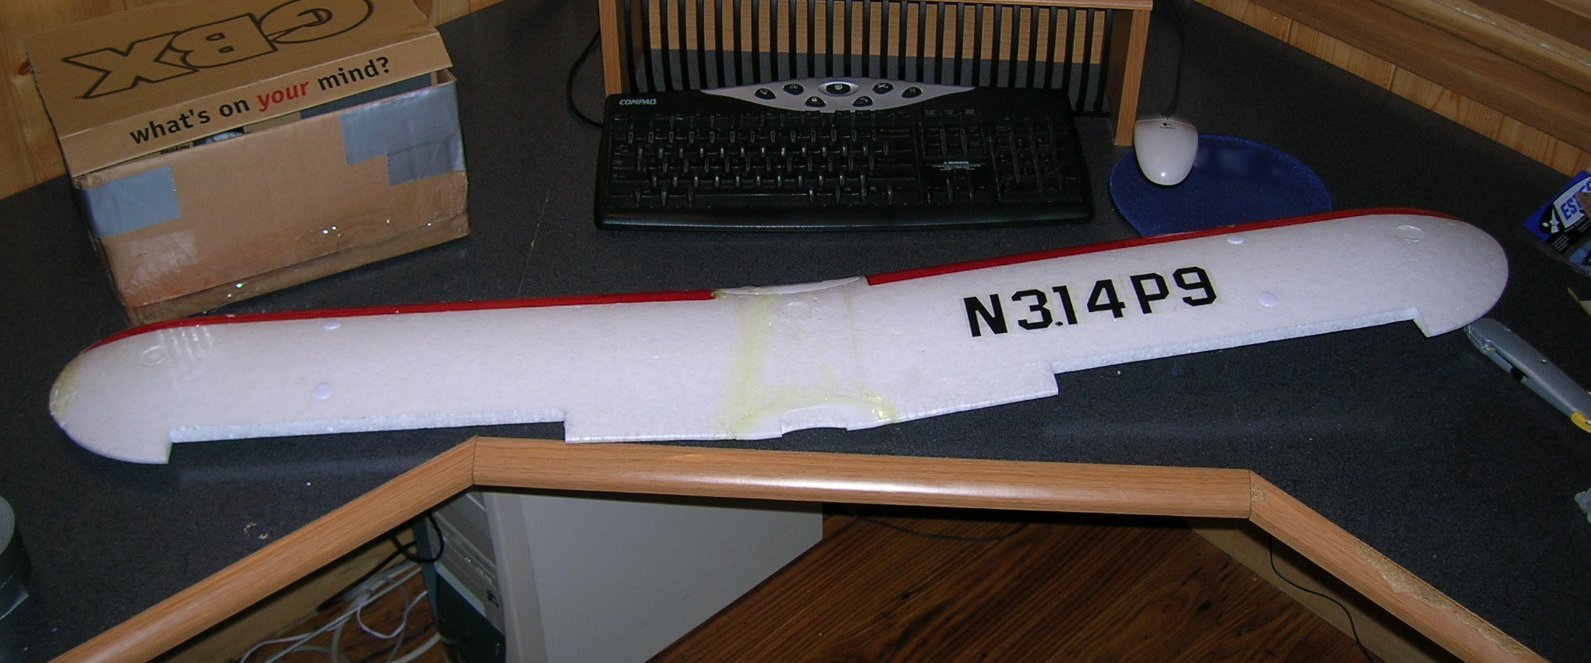
Then I used some “park flyer hinge tape” sold at my local hobby shop (Some Dude’s Hobbies are very helpful). It’s branded “3M Blenderm” and it is very easy to work with. I set the aileron to the neutral position and laid down the tape. It’s very flexible, but very strong. Then I took a hair dryer and high heat, low fan, and slowly passed the heat over the tape for about 20 seconds. I then flipped the aileron upward to apply tape to the underside too. To do this, I pushed the aileron all the way up, leaving a nice flat surface for me to apply the tape to. Now that the tape is on, you can barely see it at all. Very nice:
Once the tape was in place, I used my fingers to give a gentle squeeze along the hinge line. This compressed the foam a bit, and gives the hinge a little more mobility.
Here’s what it looked like as I applied the bottom hinge tape:
And from the side:
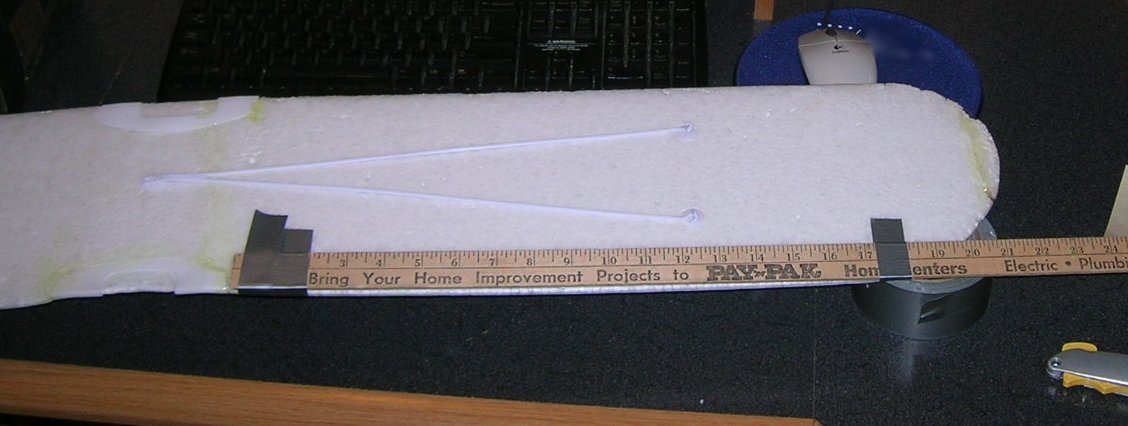
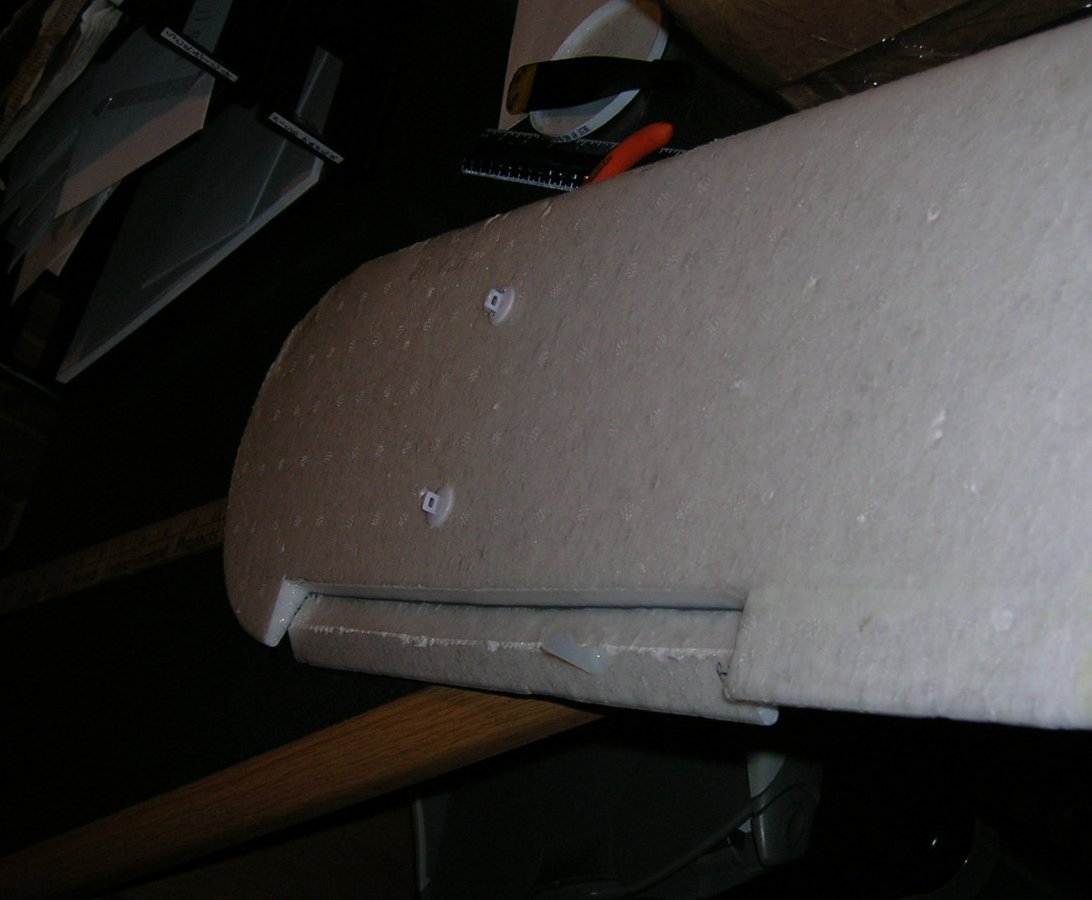
Here’s a bird’s eye view so you can see how long the ailerons are, for your own measurements:
For reference, my ailerons are 12″ long, and about 1″ deep. Closer to the fuselage, they approach 1.25″ deep, and closer to the wing tips they approach 1″ deep.
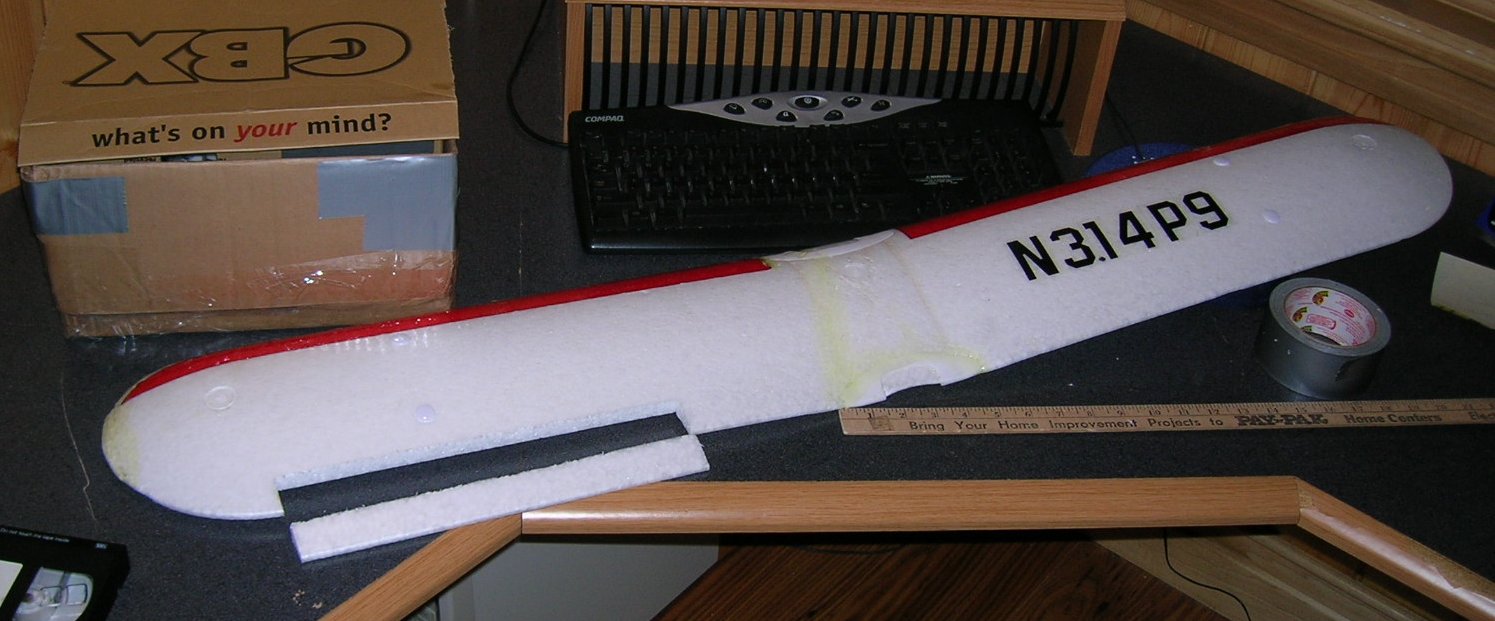
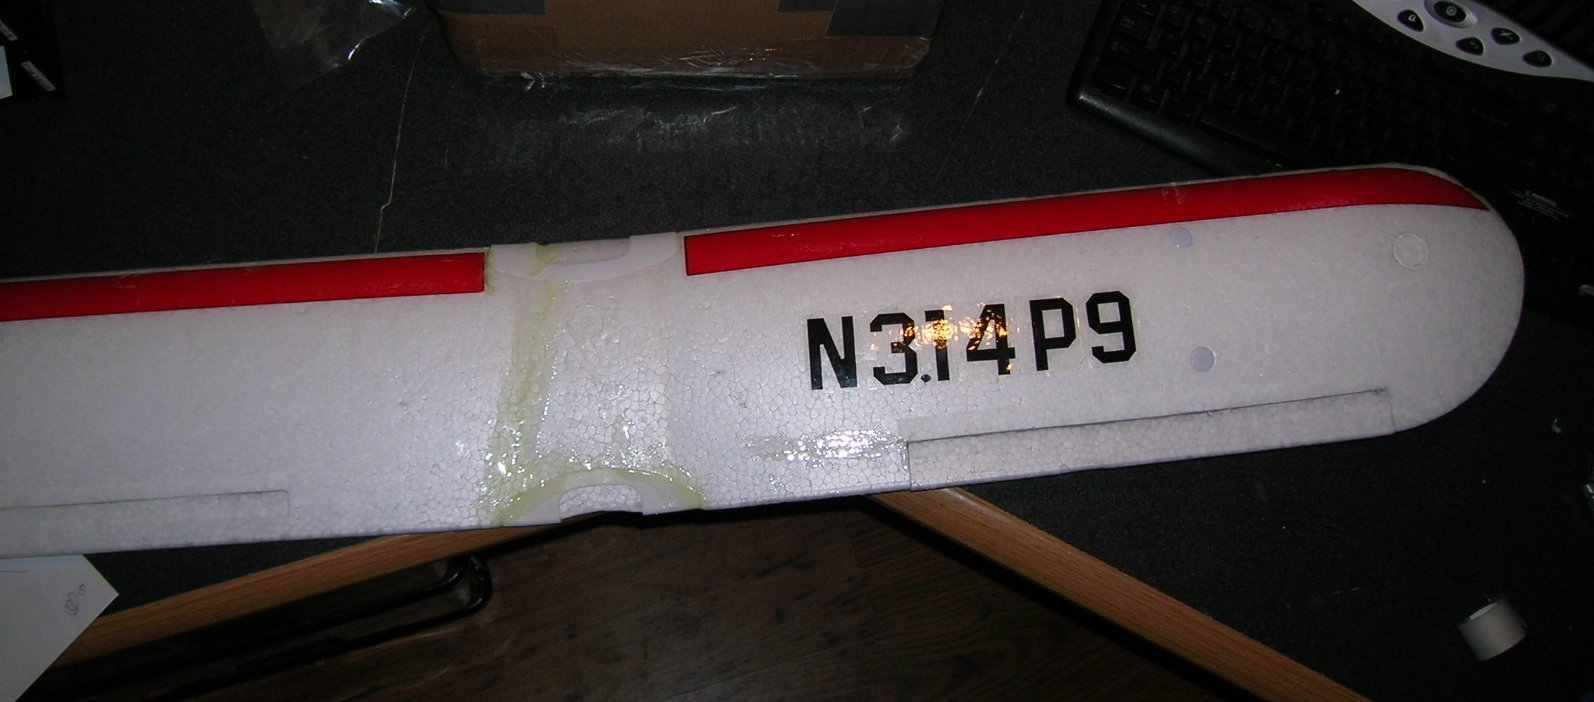
The last step was to attach the control horn for the servo’s push rod to connect to. This is a DU-BRO brand push road (which I also purchased at Some Dude’s Hobbies, where the staff is very helpful). It just had two ribbed plastic pins to attach to the foam. I “piloted” holes for them with a push pin (pun intended), and then coated them in my favorite epoxy (DevCon 5-Minute Epoxy), and shoved them in the holes. They aren’t perfectly straight, but I think they’ll work okay.
You can see in this picture that the 45 degree edge I cut on the underside of the aileron is a bit rough. It’s not really that bad in actuality. The light just reflected in a strange way. I am tempted to round that surface a bit, maybe with some fine sand paper.
That’s all I’ve done so far. Be sure to tune in for Part 2, where I’ll mount two servos in the wing, connect the push rods, and run the wiring
By the way, with my new Spektrum DX6 radio, I can program the ailerons to act as flaps too for super slow speed landings. That’s gonna be cool. See you next time!
Lastly, I’m curious from others if they think this setup will work well. Do you think my ailerons are too long, too shallow? What are your thoughts generally?
Read part 2 for the servo installation and a ground video demonstrating flaps and ailerons.
16 comments to “Super Cub Aileron Upgrade (part 1)”
So pardon my ignorance, but how did it turn before without ailerons?
By the way, the technical term for putting your ailerons in flap mode is “flaperons.” You need a programmable radio to do it (like the Spektrum DX6) and one extra control channel so each aileron/flap has its own servo.
–Dave
Hans,
The HobbyZone Super Cub turns with the rudder only. Since the wings have pretty big dihedral, and rounded wing tips, it would bank on rudder input. The reason is that the rudder would swing one wing out in front of the other, giving it more air flow, and causing it to gain more lift than the other wing, resulting in a bank. The problem is that every turn shaves off some of the plane’s air speed, since it has to yaw to one side. With ailerons, it’ll be much smoother, since there will be almost no yaw (assuming it even flies after all my foam hackery).
–Dave
Congratulations! This will definitely advance your flying skills.
As for how a plane turns on rudder only, well, it all depends on the dihedral of the wing. The more dihedral, the better a plane can turn with a rudder, as more dihedral increases the coupling between yaw and roll (one induces the other). The straighter the wing (and the cub’s wing is pretty straight), the less effective the rudder actually us because the coupling is less. The problem is that all the rudder does is push the tail around. Ideally, there should be no coupling between the three axis, and under such conditions the plane will still continue to travel in the same direction with rudder applied, just sideways; it doesn’t naturally want to actually turn.
If you hold the rudder long enough, as the plane yaws, eventually the plane will kind of bank as the wing tip picks up speed. With ailerons, you can bank immediately, then pull up on the elevator and turn very precisely. All that a rudder does during a turn is to coordinate the yaw with your bank. The reason this is desirable is that it keeps people on the plane from getting sick. The rudder is not used much at all at altitude and speed, as turns at 300FL and 480 knots are wide, gentle turns.
In RC, rudder doesn’t matter that much, so most people rarely use the rudder with ailerons at first. There are many maneuvers that require the rudder, such as a knife-edge, and rudder is also used to help counter coupling between the axes during maneuvers like slow barrel rolls. I have to confess, though, that while I’m not very good at using a rudder, coordinating the turns is very beautiful. My current planes are too fast for me to think about what to do with the rudder! But I’m trying to learn!
Once I get proficient with the ailerons, I want to program my radio to mix the aileron channel into the rudder channel to automagically apply some rudder into my turn. Eventually, I’d like to be able to turn on the dual rates, and mix the rudder and elevator with aileron to perform precise snap rolls. We’ll see about that. :)
Dave, that looks really nice! My favorite picture is number 7, a close up of the wing tip I tore off in that spectacular cartwheel landing. Gymnasts practice for years to get that kind of form.
Steve, what you don’t realize is that I did the same thing later, to the same wingtip. It’s been double-epoxied back together. Soon my whole wing is just going to be one flying mass of hardened epoxy.
I’m heading over to Some Dude’s today to pick up push rods, EZ connectors and servo extension wire.
If it was using only rudder before, you’re in for a treat. I know all about the aerodynamics involved, and not only is using rudder only a sloppy way to turn, it is a fairly unstable way. Hope your new mods work out!
See http://av8n.com/
Yes I know, I sell helicopters!!
But I do like flying my HobbyZone Super Cub as well. Which brings me to my point in time, I will be modifying my cub very shortly, with a BL-480 Brushless motor, 4 x Hitec HS-55 servos, and doing the aileron modification you just completed (quite well I might add):) Via a DX7 2.4Ghz Spectrum transmitter/receiver system, and 3 cell LiPoly battery source.
I will be using your photo instructional document in order to complete my task for the aileron modification (you did a marvellous job).
When completed, I will be happy for any interested parties to view my flying exploits on YouTube.
Thank you for the opportunity to add to your blog.
Cheers: Gary:)
I’m am contemplating doing this to my Supercub as it’s either mod or but a different 4 channel plane.
Question is, how did you make your cuts so neat? Did you just use a very sharp craft knife ot did you use something like a dremmel cutting disc? Also how did you dig out the recess for the servos to get the bottom surface flat?
Excellent instructions btw!
I took my stock Super Cub and removed the wing struts, and installed reinforced packing tape on the bottom of the wing. I now use a 3 cell Li-Po battery. I also removed the stock elevator, and installed a Trojan T-28 elevator. I can now hold a hover for 6 or more seconds, inverted flight is now possible, I can also fly very slow with ease. I have toyed with the idea of making the wing flatter and less of a V shape. I am hoping this will aid in a more stable inverted flight.
What is the overall travel of your ailerons? from neutral to full up what is the distance covered at the trailing edge? (more importantly) what is the distance travelled in the down position? I’ve got a nice 45 where they butt up to the back of the wing, but am curious if photo 7 (showing how long they run over the wing) is the aileron in the extreme down position, and if so what is the distance between the trailing edge of the wing and the aileron?
Thanks =-)
Happy flying.
I don’t have the plane anymore but I think the travel from neutral to full down deflection was about 3/4″. That means about 1.5″ total travel from full up to full down. You definitely want an equal amount of down vs up travel.
Thanks for the qucik reply! I’m acutally working on mounting them on the wings – i’ll verify that I have ~3/4″ down and up. You upgraded to a new plane or tested it’s impact force?
The Super Cub was my first plane nearly 3 years ago. I think I’m on my 8th plane now. :-)
Well, I just landed my Super Cub DSM wings down on the roof of someone’s car. I definetley need more control here. Glad I found this!