RC Stryker Build Log: Part 1
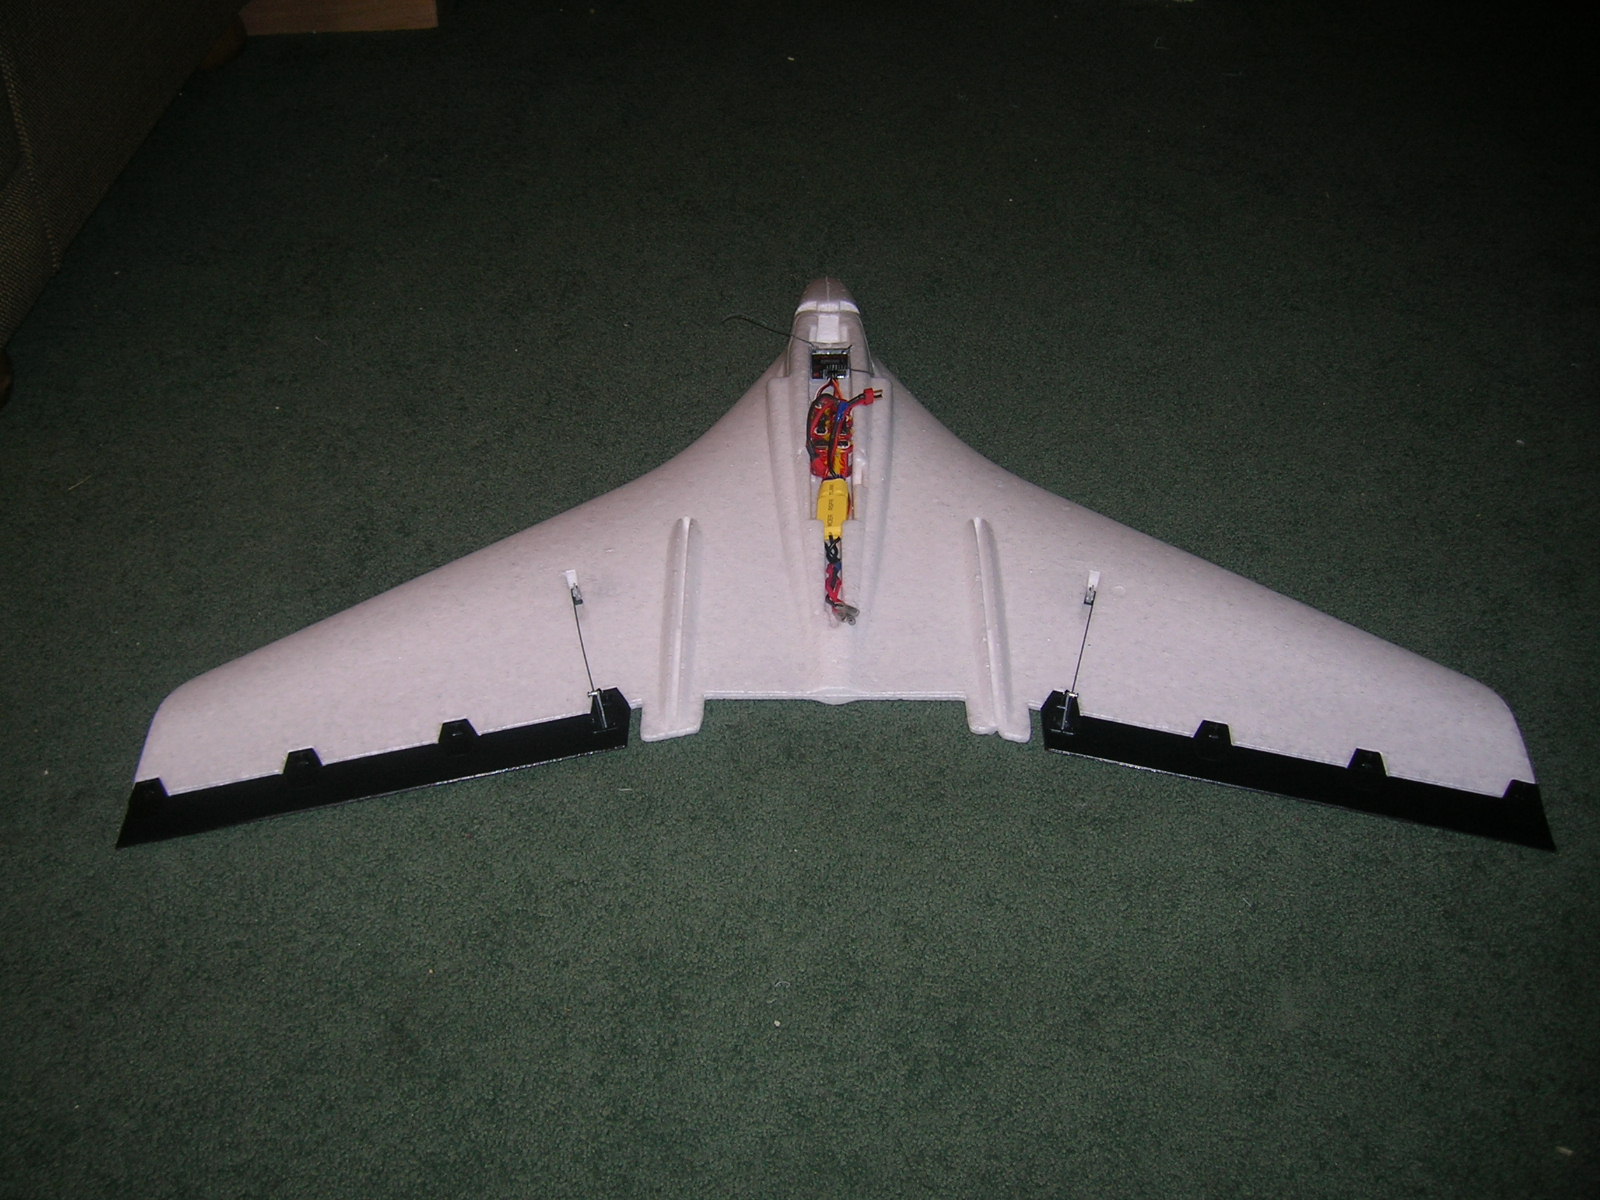
I started building a Parkzone Stryker last night. So far I’ve spent $25 on the fuselage and elevons, and this is what it looks like:
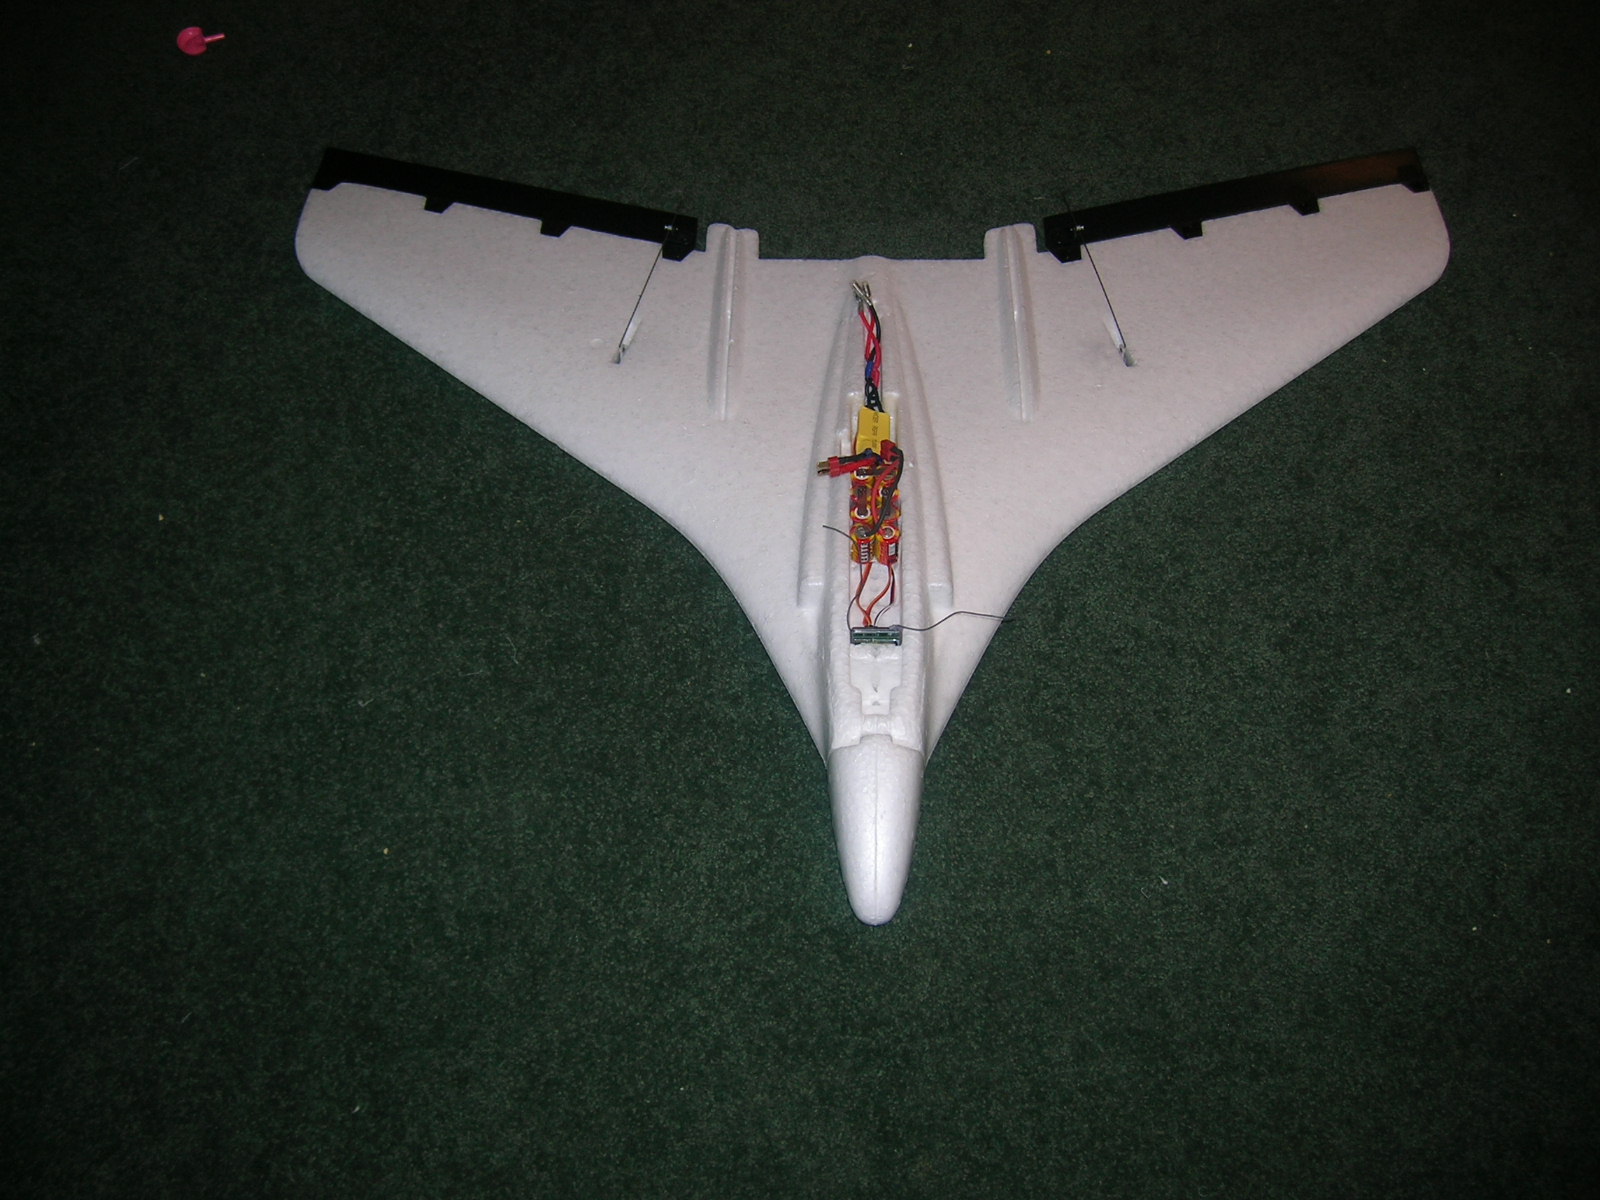
This airplane has been very easy to put together. The elevons clip on with no glue and are pre-hinged. The battery compartment is very spacious, and the servo holes are pre-cut. This took me less than an hour to do.
Here’s what I have left:
- Install the vertical fins.
- Mount a motor (considering the Tower Pro 2408-21, reverse mounted on the stock motor mount).
- Secure the battery with a velcro strap.
Here’s a shot from the back for the curious:
4 comments to “RC Stryker Build Log: Part 1”
HI,I WANT TO DO THE SAME THING,JUST BUY THE FUSELAGE,I HAVE THE SERVOS AND RX,DX6 RADIO.,BATTERY. QUESTION=DOES THE MOTOR NEED TO RUN REVERSE? OR IS IT JUST THE MATTER OF SWITCHING THE MOTOR WIRES ? PLEASE RESPOND WITH ANY DETAILS TO HELP ME. THANKS
Yes, just change the direction the prop faces, and then flip any two of the three wires to your motor. That’ll do the trick. Make sure the prop is actually moving air in the correct direction *before* you launch it! :)
I want do build one from scratch.
I have all the parts but I am not really a phisics fan.
Fortunately, with the Stryker you can be pretty physics-ignorant. All you have to do is balance it, which is very easy. Just put two fingers in the two round imprints in the holes where you launch it. Make sure it doesn’t tip forward or backward, and you’re good to go!