Qt Stylesheets Button Bar Tutorial
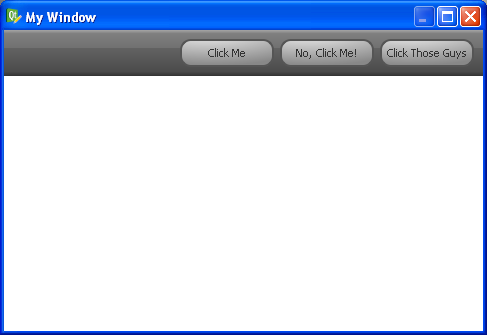
To demonstrate the awesomeness of Qt’s stylesheets, we’ll make a modern looking button bar (inspired by Qt Creator) that looks like this:
Let’s get started
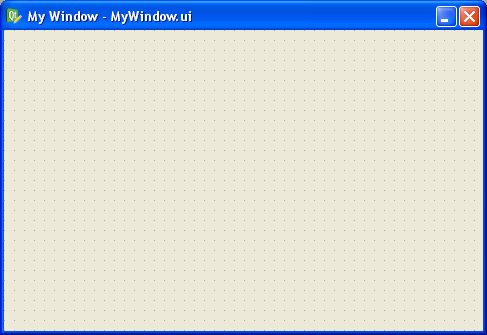
Step 1 Open Designer and create a new empty widget:
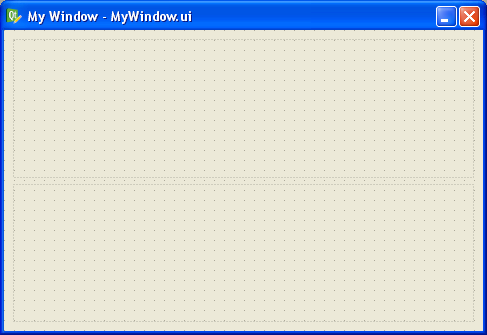
Step 2 Toss a couple QFrames on the widget, one above the other. Name them topFrame and bottomFrame, like this:

Step 3 Apply a vertical layout to your widget (just click on the background area and then click the vertical layout button in Designer’s toolbar. It should look like this now:
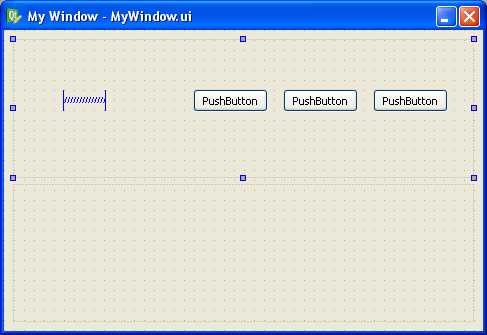
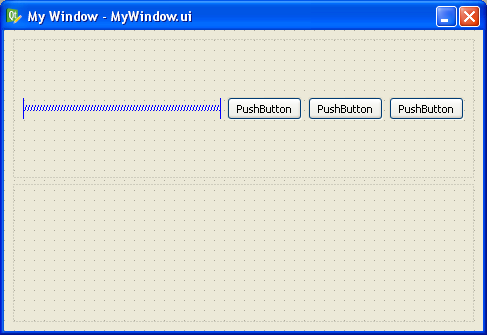
Step 4 Drag and drop a few buttons and a horizontal spacer onto the frame you called “topFrame” (don’t forget to name it if you haven’t already)
Step 5 Apply a horizontal layout to the “topFrame”
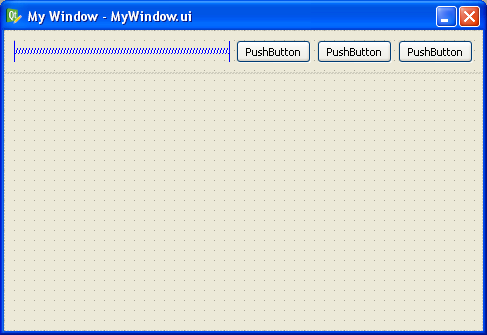
Step 6 Set the vertical size policy for the “topFrame” to “Fixed”. This makes it shrink to a minimum size and lets the bottom frame grow to fill the rest of the widget.

Step 7 Set your margins and spacings to 0 (do this by clicking on the background and at the bottom of Property editor you’ll find the “Layout” section which lets you specify this stuff).
Step 8 Add a style sheet to your widget (right click on the top-most entry in the Object Inspector and select “Change styleSheet…”). Put this style in there for now:
#topFrame {

border: none;

background: qlineargradient(x1: 0, y1: 0, x2: 0, y2: 1,

         stop: 0 #a6a6a6, stop: 0.08 #7f7f7f,

         stop: 0.39999 #717171, stop: 0.4 #626262,

         stop: 0.9 #4c4c4c, stop: 1 #333333);

}
#bottomFrame {
border: none;
background: white;
}
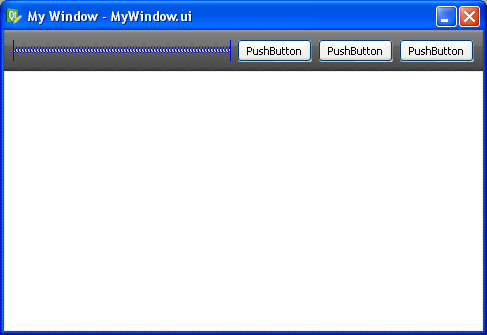
That will give the topFrame a nice modern background that looks like this:
Step 9 Now stylize the buttons. Add this to your stylesheet:
#topFrame QPushButton {

color: #333;

border: 2px solid #555;

border-radius: 11px;

padding: 5px;

background: qradialgradient(cx: 0.3, cy: -0.4,

fx: 0.3, fy: -0.4,

radius: 1.35, stop: 0 #fff, stop: 1 #888);

min-width: 80px;

}
#topFrame QPushButton:hover {
background: qradialgradient(cx: 0.3, cy: -0.4,
fx: 0.3, fy: -0.4,
radius: 1.35, stop: 0 #fff, stop: 1 #bbb);
}
#topFrame QPushButton:pressed {
background: qradialgradient(cx: 0.4, cy: -0.1,
fx: 0.4, fy: -0.1,
radius: 1.35, stop: 0 #fff, stop: 1 #ddd);
}
That style sheet makes the buttons have rounded corners, a nifty radial gradient background, and modern hover and click effects, like this:

Now press Ctrl+R and view the finished product:
Aren’t Qt stylesheets awesome?
14 comments to “Qt Stylesheets Button Bar Tutorial”
Thanks for cool stuff. ;)
nice tutorial, tnx
Cool Stuff!! I really appreciate. I found no better source on the web.
Cool stuff, I used it. Many thanks.
Really cool ! Thanks a lot.
Great work man…
Really very interesting stuff,
Could you please let me know how to make it round shape???
-Thanks,
Girish.L.C
While selecting the push button even though we have trimmed the corner, we are still able to select that portion.
Anybody know how to disable that portion.
-Girish.L.C
It simply Superb..and easy to understand…Thank u
Oh nice, Nice and simple , easy to follow and encouraging. Please do more.
Thank you!
Good tutorial! Thanks for this, no better source in the Internet
Bless your soul.
tnx for your tutorial
but i have an problem
when i try to add an vertical layout to Qwidget it seems diffrent with the image in website…
please help
it’s important