Qt Stylesheet Sidebar Tutorial
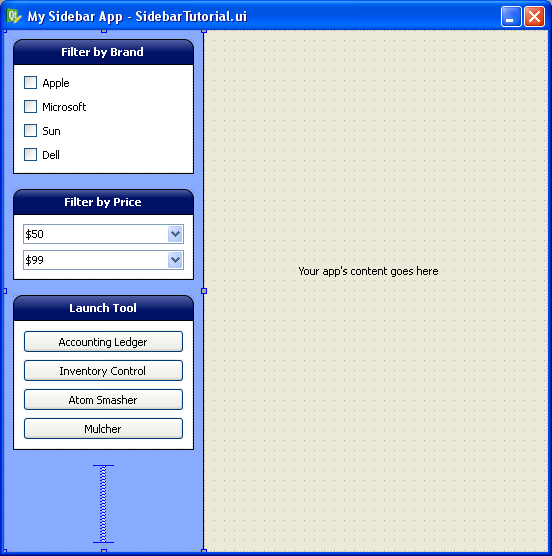
In some applications, a nice looking sidebar can really add some polish. In this tutorial, we’ll show you how to make a sidebar using nothing but Designer and Qt’s stylesheets. When we’re done, we’ll have this:
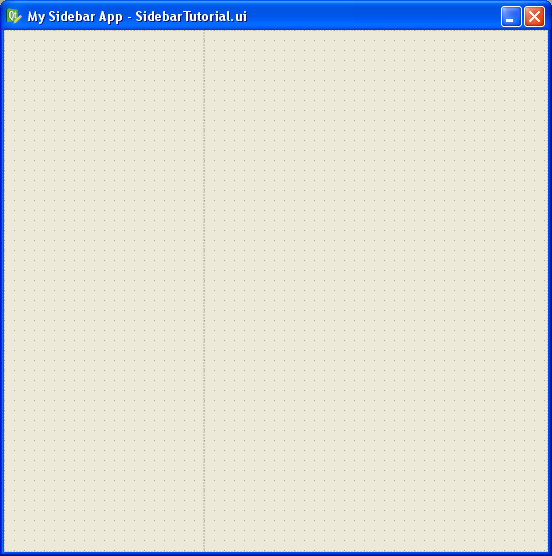
Step 1 Open Designer and create a new widget for your app. Enjoy the blank slate for a moment. When you’ve had enough zen, move on to step 2.

Step 2 Drop a couple QFrames onto the widget.

Step 3 Apply a horizontal layout to your widget (click on the background and then click the horizontal layout button in the toolbar). Then give the left-hand frame a maximum size of 200. This will become the sidebar and we don’t want it to occupy half of the screen. You may have to tweak this in your application depending on your user’s font size.
Step 4 Name your left-hand frame “sidebarFrame” and then add this stylesheet code to your widget (right-click on the top-most node in the Object Inspector and select “Change styleSheet…”).
#sidebarFrame {

background: #8af;

border: none;

border-right: 1px solid black;

}
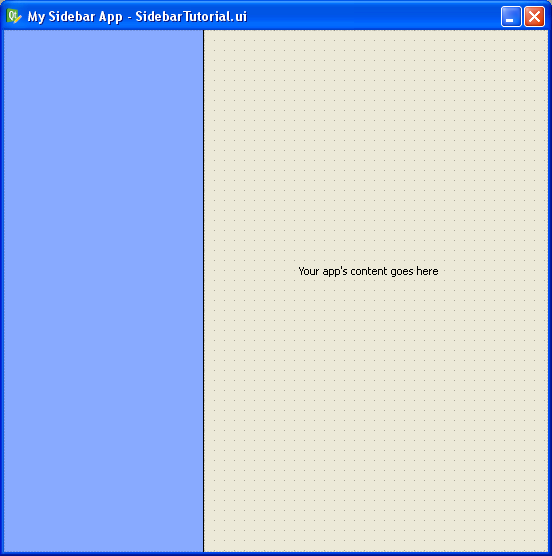
This gives the sidebar a blue background and a single-pixel black border between it and the application’s main content area, like this:
Step 5 Drop a QFrame inside the sidebarFrame on the left.
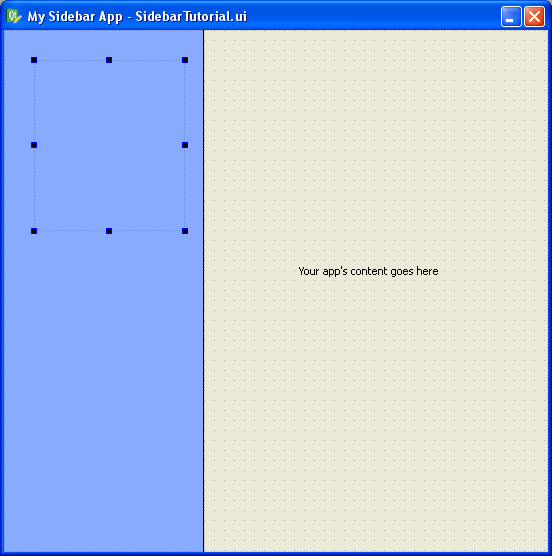
Step 6 Add a custom property to the new QFrame that you just dropped on the widget. Do this by clicking the green “plus” sign in Designer’s property editor and picking “String”. In the popup dialog, type the word “class” (without quotes). By doing this, we are giving this widget a custom property named “class”. In the property editor, type the word “SidebarFrame” for the “class”. This should appear at the very bottom of the property editor.
After giving your new frame a class, add this style sheet code to your stylesheet:
QFrame.SidebarFrame {

border-top-left-radius: 10px;

border-top-right-radius: 10px;

border: 1px solid black;

background: qlineargradient(x1: 0, y1: 0, x2: 0, y2: 1,

stop: 0 #56a, stop: 0.1 #016);

}
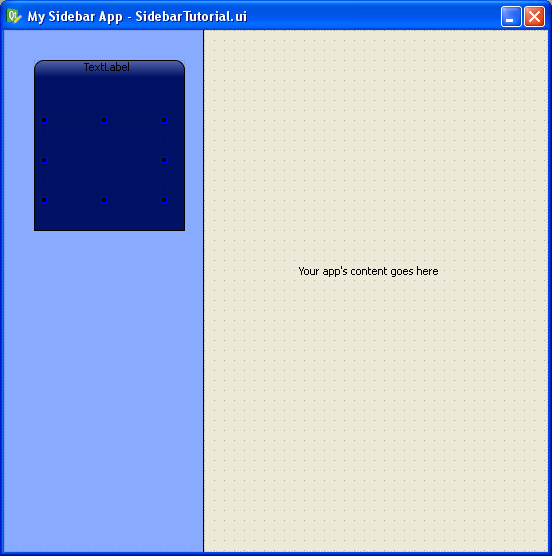
Now you should have this:

Step 7 That forms the outside of the frame. Now we’ll do the interior. Drop a QLabel and a QFrame inside your new QFrame, like this:
Step 8 Give the inner QFrame a custom “class” property of “SidebarInnerFrame”, and add this style sheet code:
QFrame.SidebarFrame QLabel {

color: white;

font-weight: bold;

}
QFrame.SidebarInnerFrame {
background: white;
border: none;
border-top: 1px solid black;
}
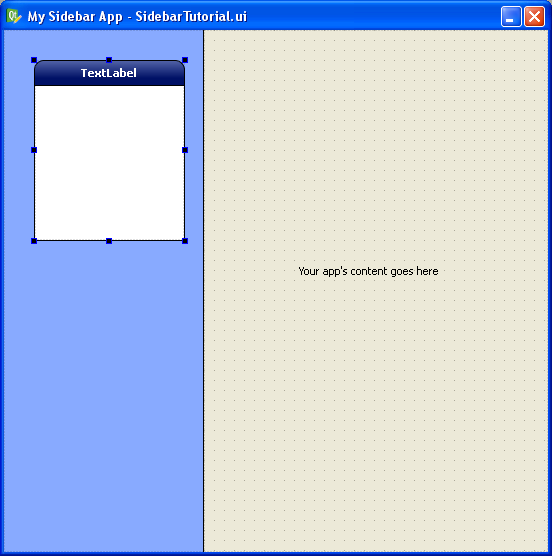
That will stylize the QLabel (which will be the title label for this box) to give it white, bold text. It will also stylize the inner frame to be white. You should have this now:

Step 9 Now layout your box by clicking on the box and then clicking the vertical layout button. Afterwards, give it the following spacing and margins in the “Layout” section of the property editor:
| layoutLeftMargin | 0 |
| layoutTopMargin | 5 |
| layoutRightMargin | 0 |
| layoutBottomMargin | 0 |
| layoutSpacing | 5 |
Having done that, you should see this:
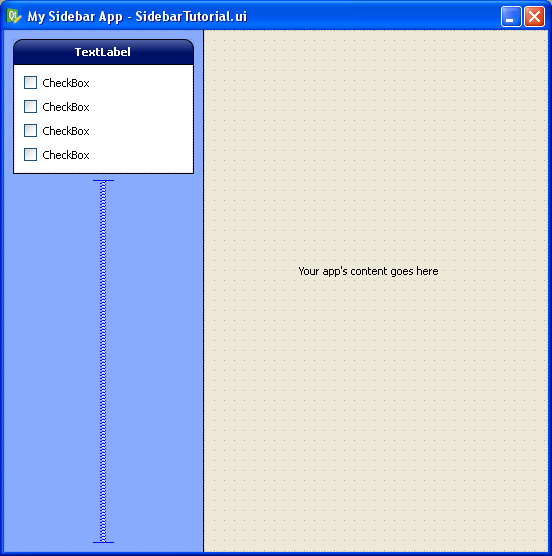
Step 10 Drop some checkboxes or something inside your box and lay them out vertically (do this by clicking on the inner frame and then clicking on the vertical layout button). Then click on the light blue sidebar frame and give it a vertical layout. Insert a vertical spacer in the bottom, and you should see this:
Step 11 Now that you have your styles and layouts in place you can copy and paste the sidebar boxes to your heart’s content. You can name them whatever you want because we are using the “class” custom property to stylize them. These boxes can contain any widgets you like.
As an exercise for the reader, figure out why you can’t read the text of QLabels when you drop them inside these boxes.
Enjoy your finished product:
I am consistently impressed at how powerful Qt’s stylesheets are. You can do some really neat things with very little effort, all in a friendly WYSIWYG environment.
Happy hacking!
6 comments to “Qt Stylesheet Sidebar Tutorial”
Hey! I just found your blog on Google and I’m glad I clicked the link. Your tips are great for a Qt noob like me and let me say there aren’t many introductory guides for Qt out there (or at least none that stand out on Google).
I’ve been playing around with layout and stylesheets in Qt Designer for a few days now and I was wondering if there’s a way I could export some of those settings to use in similar projects. As far as stylesheets go, I could just save them as a text file, but is there anything I can do to reuse settings like layoutSpacing and layout*Margin? I’m told positioning elements manually is a no-no (see http://chaos.troll.no/~ahanssen/devdays2007/DevDays2007-Layouts.pdf), so I guess my desire for such a feature isn’t that unfounded.
Again, thanks a lot for your tips and keep on writing!
Cheers,
André
André, currently Qt has no way to share settings like layout spacing and margins between UI files. Furthermore, there is no automated way to share those settings between widgets in the same UI file. It’s unfortunate.
Also, there is no way to share stylesheet settings between UI files either, at least not without sacrificing Designer. A co-worker and I patched Designer so you could apply a global stylesheet to multiple UI files, and it worked great. We also patched the stylesheet system to allow one stylesheet file to “include” another (like a C++ #include). We even submitted the latter feature as a patch to the Qt guys, but they have not incorporated it to my knowledge. That is also unfortunate.
superbe !!!
Hi
Add a custom property … Do this by clicking the green “plus†sign – in QDesigner
How can I do this in Visual Studio?
and yes, great tutorial
Hey,
thanks for your tutorials. They’re very nice.
Jan
Hi
thx for nice tutorial…
in case anyone want to know how to do this at runtime inside constructor.. it took me quite a while to figure this one out…
so do this inside your Widget/Frame constructor:
this->setProperty(“class”, QString(“TestWidget”));
and later you can do this:
this->setStyleSheet(“*.TestWidget { background-color: darkgrey } “);
if someone knows better way just let us know :-)