R/C GWS Formosa Build
I just completed my GWS Formosa R/C airplane and it is ready to fly. Here’s a play-by-play with pictures of the whole process.
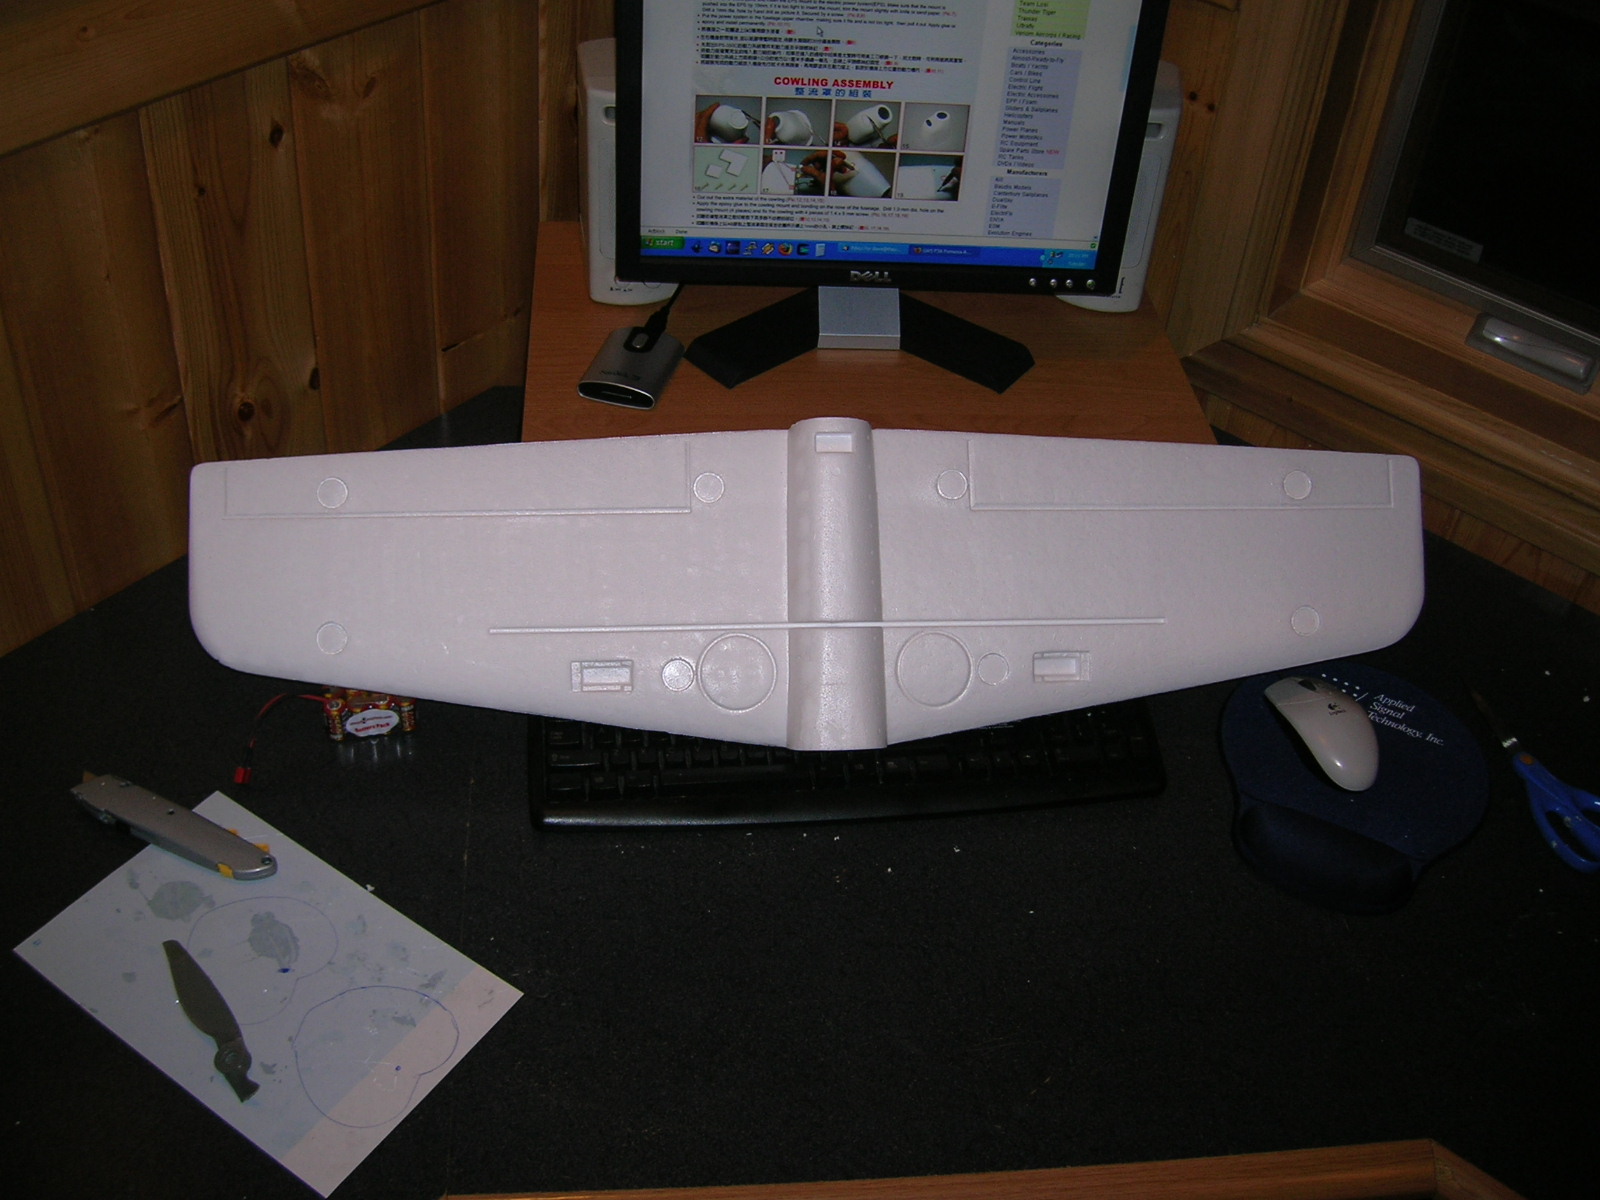
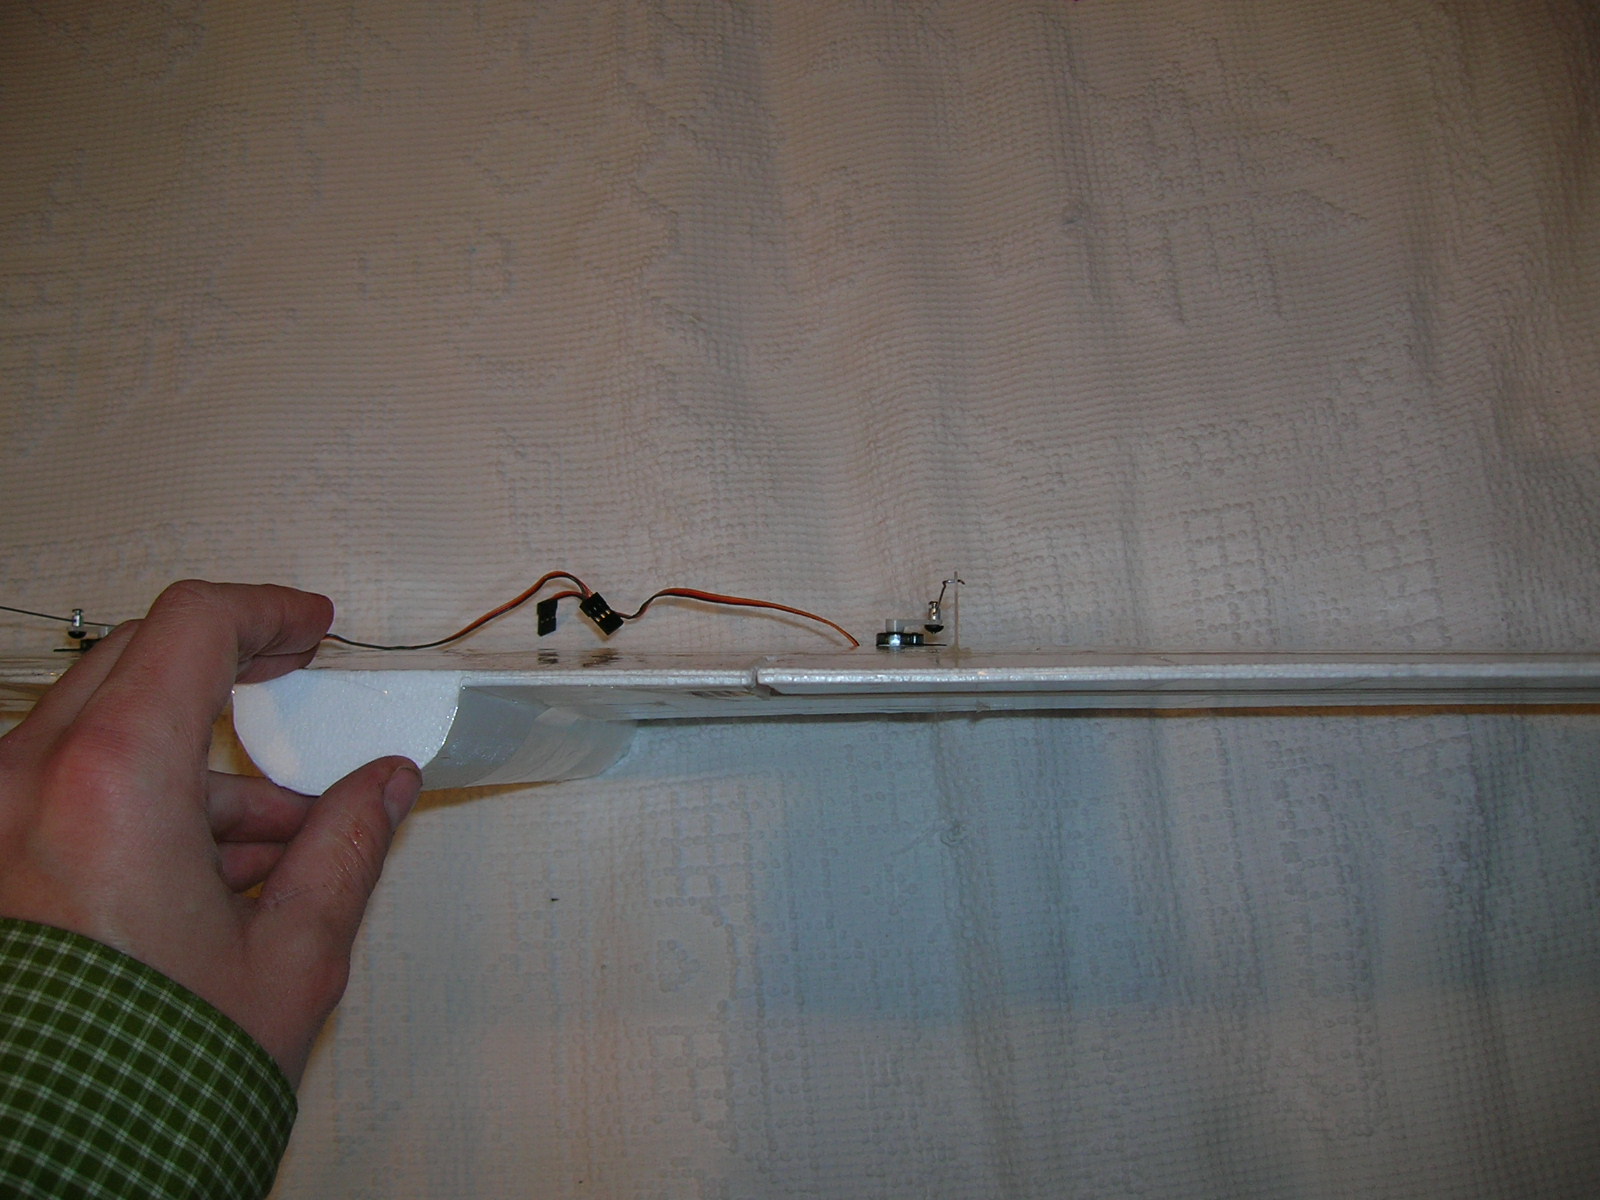
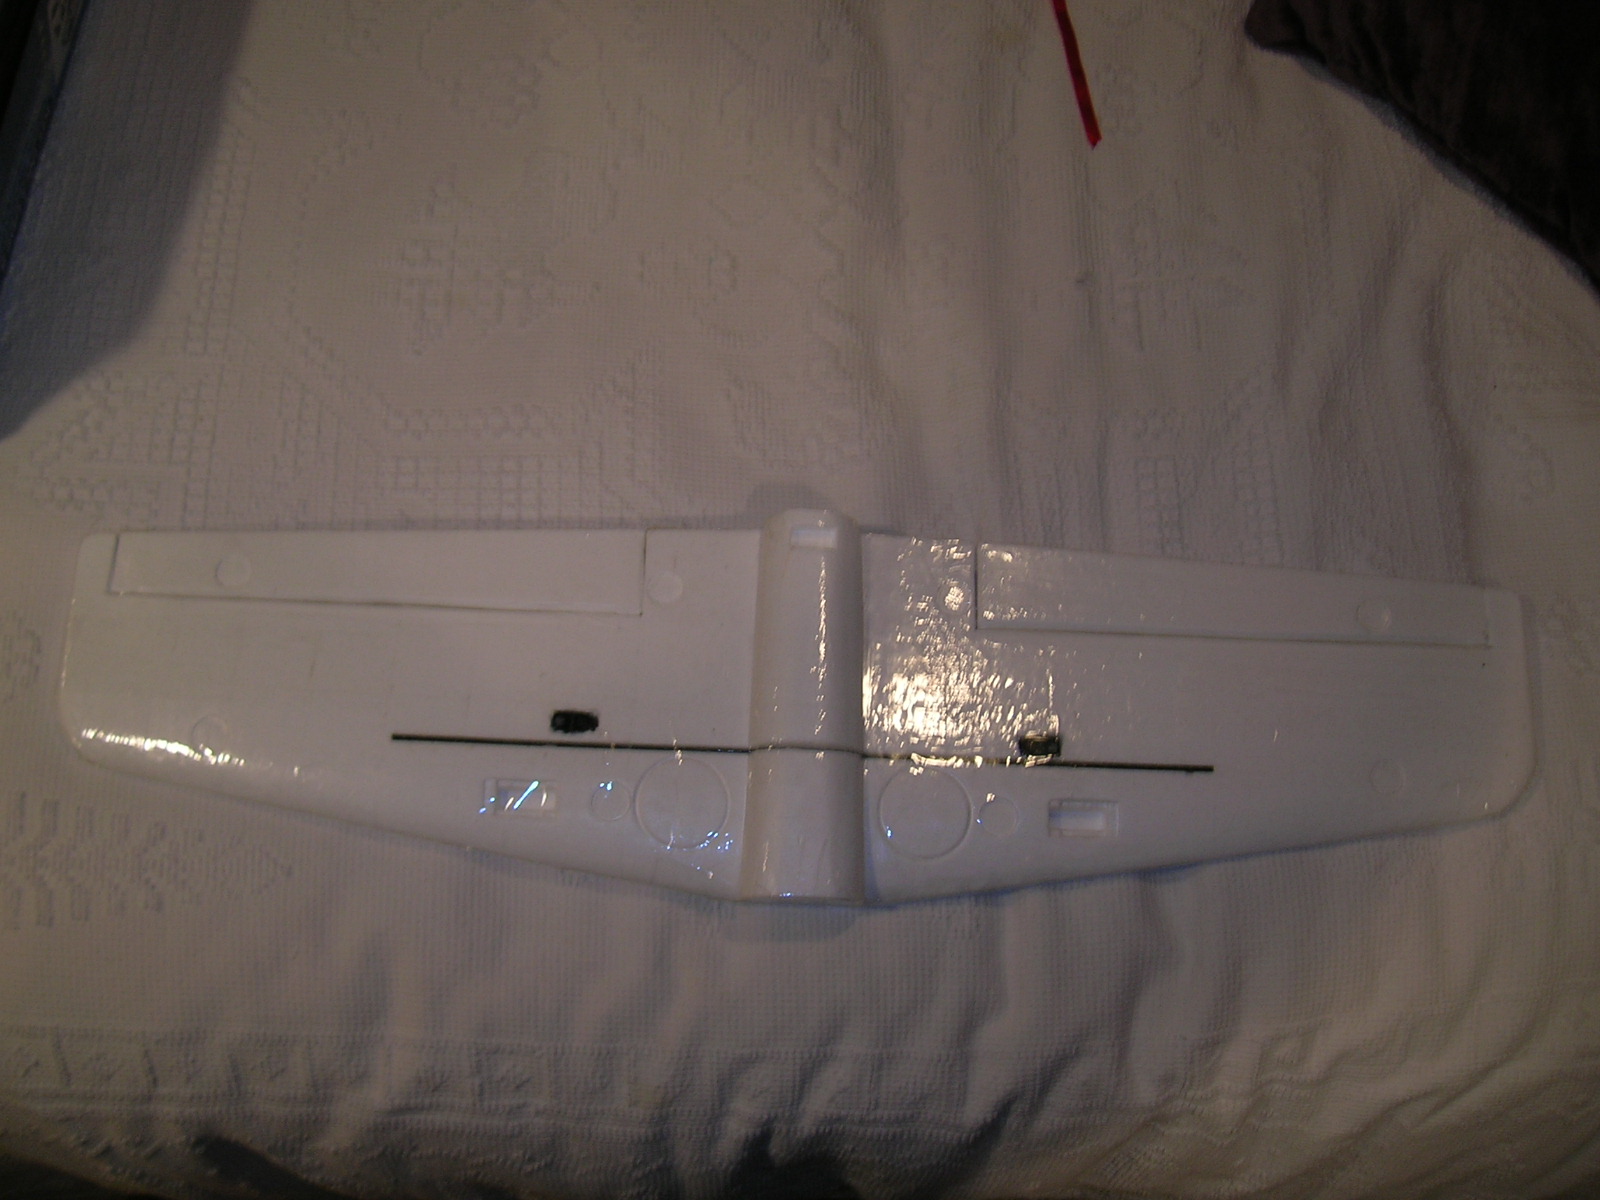
The plane took about 8 hours to assemble. I used three different kinds of glue, packing tape, masking tape, and duct tape to get it all into one piece. To start, I sanded off the foam molding marks to smooth off the wing. Here’s the bottom of the wing after sanding:
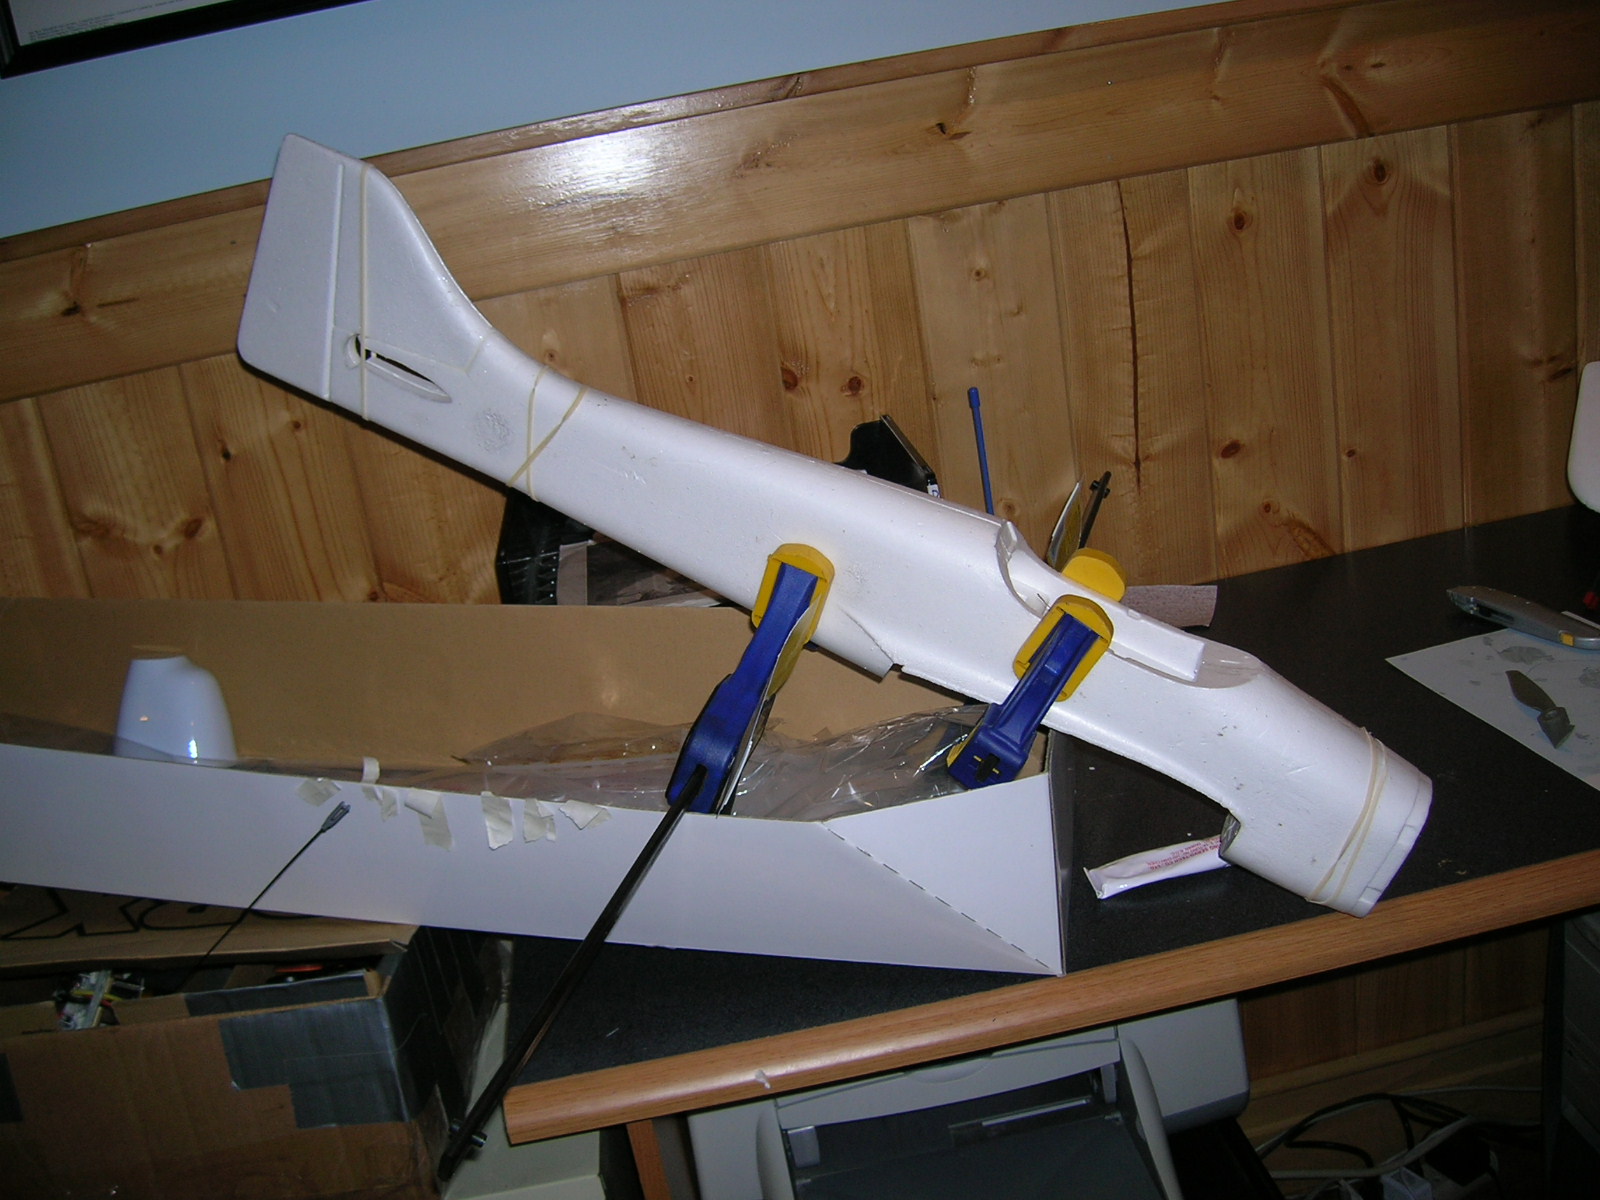
The fuselage came in two halves, so I glued them together with the included GWS glue, and used masking tape, rubber-bands and some one-handed clamps to hold the halves together while it cured. The glue took about 36 hours to fully cure. You have to leave the GWS glue spread on the surface of the foam and exposed to the air for about 5 minute before sticking the two halves together.
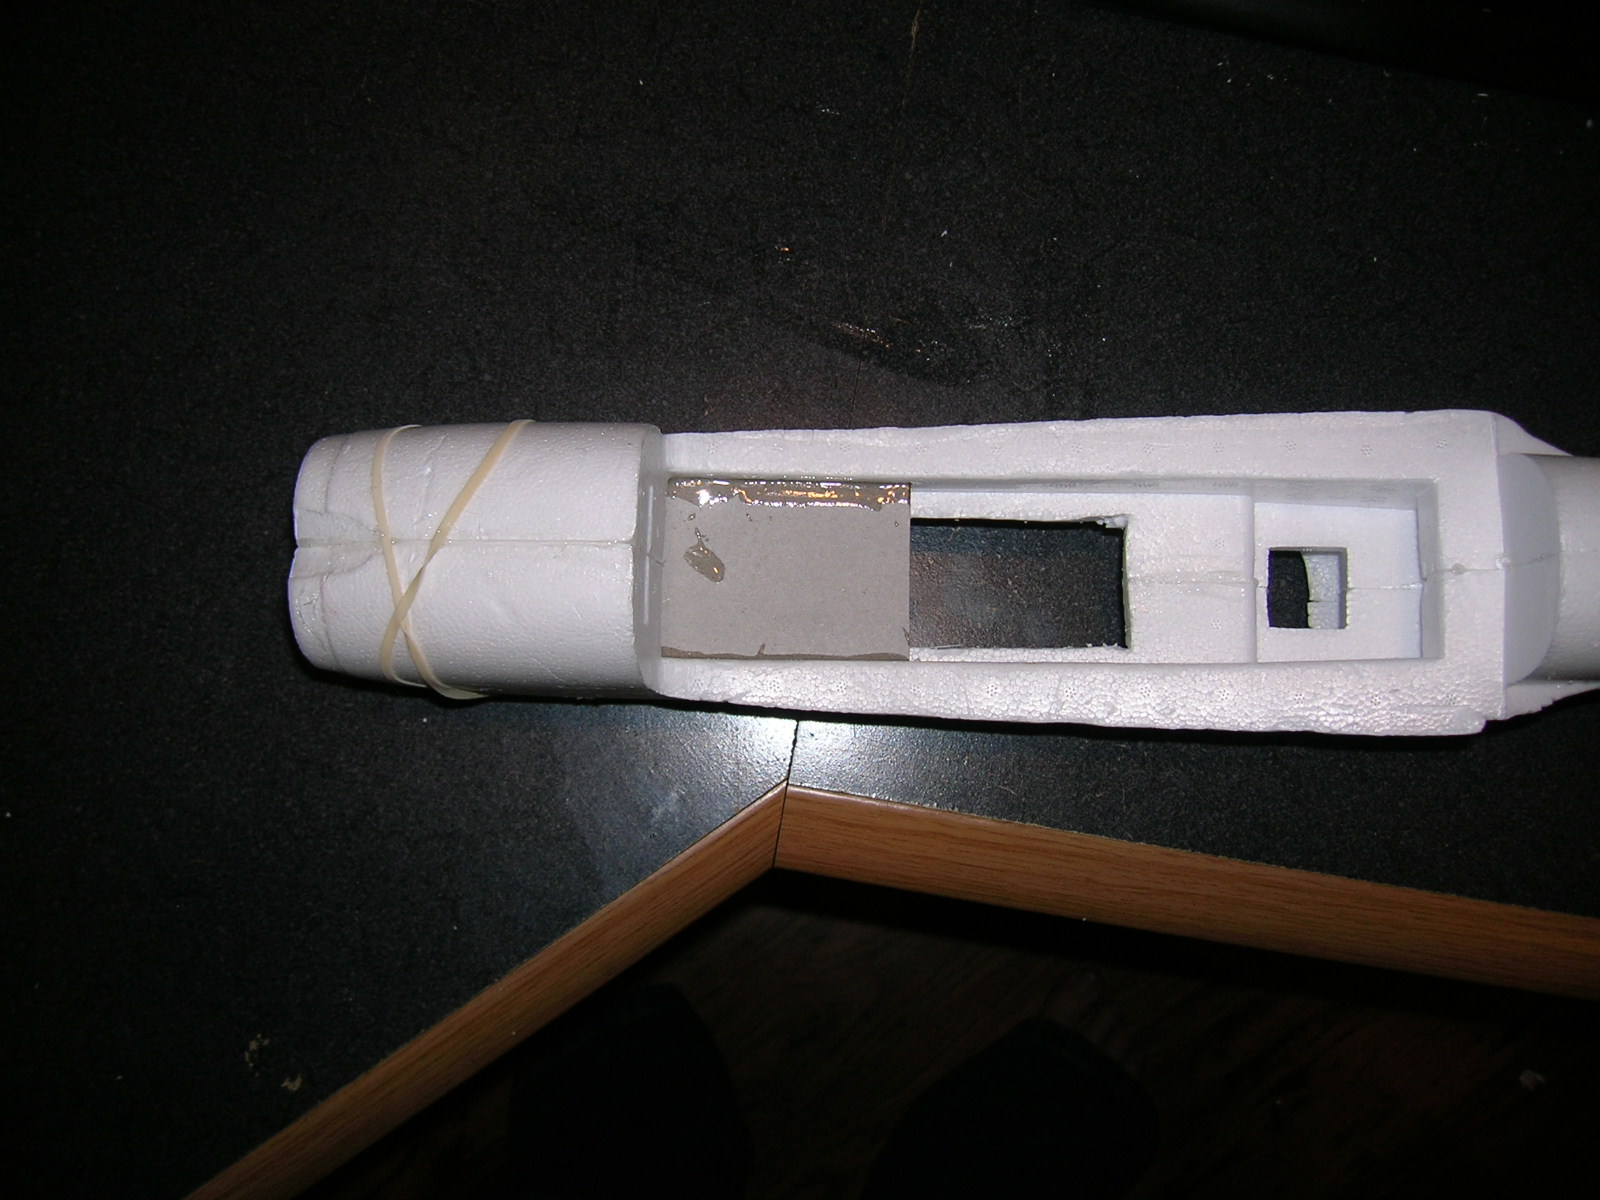
Before gluing the fuselage halves together, I hollowed out a compartment for my 8-cell NiMH battery pack. I had read online that this was a good idea. It turns out that I didn’t need to do this since the Center-of-Gravity (CG) for my Formosa was so far forward that I needed to move the battery well behind this compartment. Of course, I didn’t know that was going to be the case until after I was done building. Oh well! Here’s the battery compartment hollowed out, with a cardboard shelf I inserted between the fuselage halves. I ended up stuffing my electronic speed controller (ESC) in there instead (shot is from the bottom):
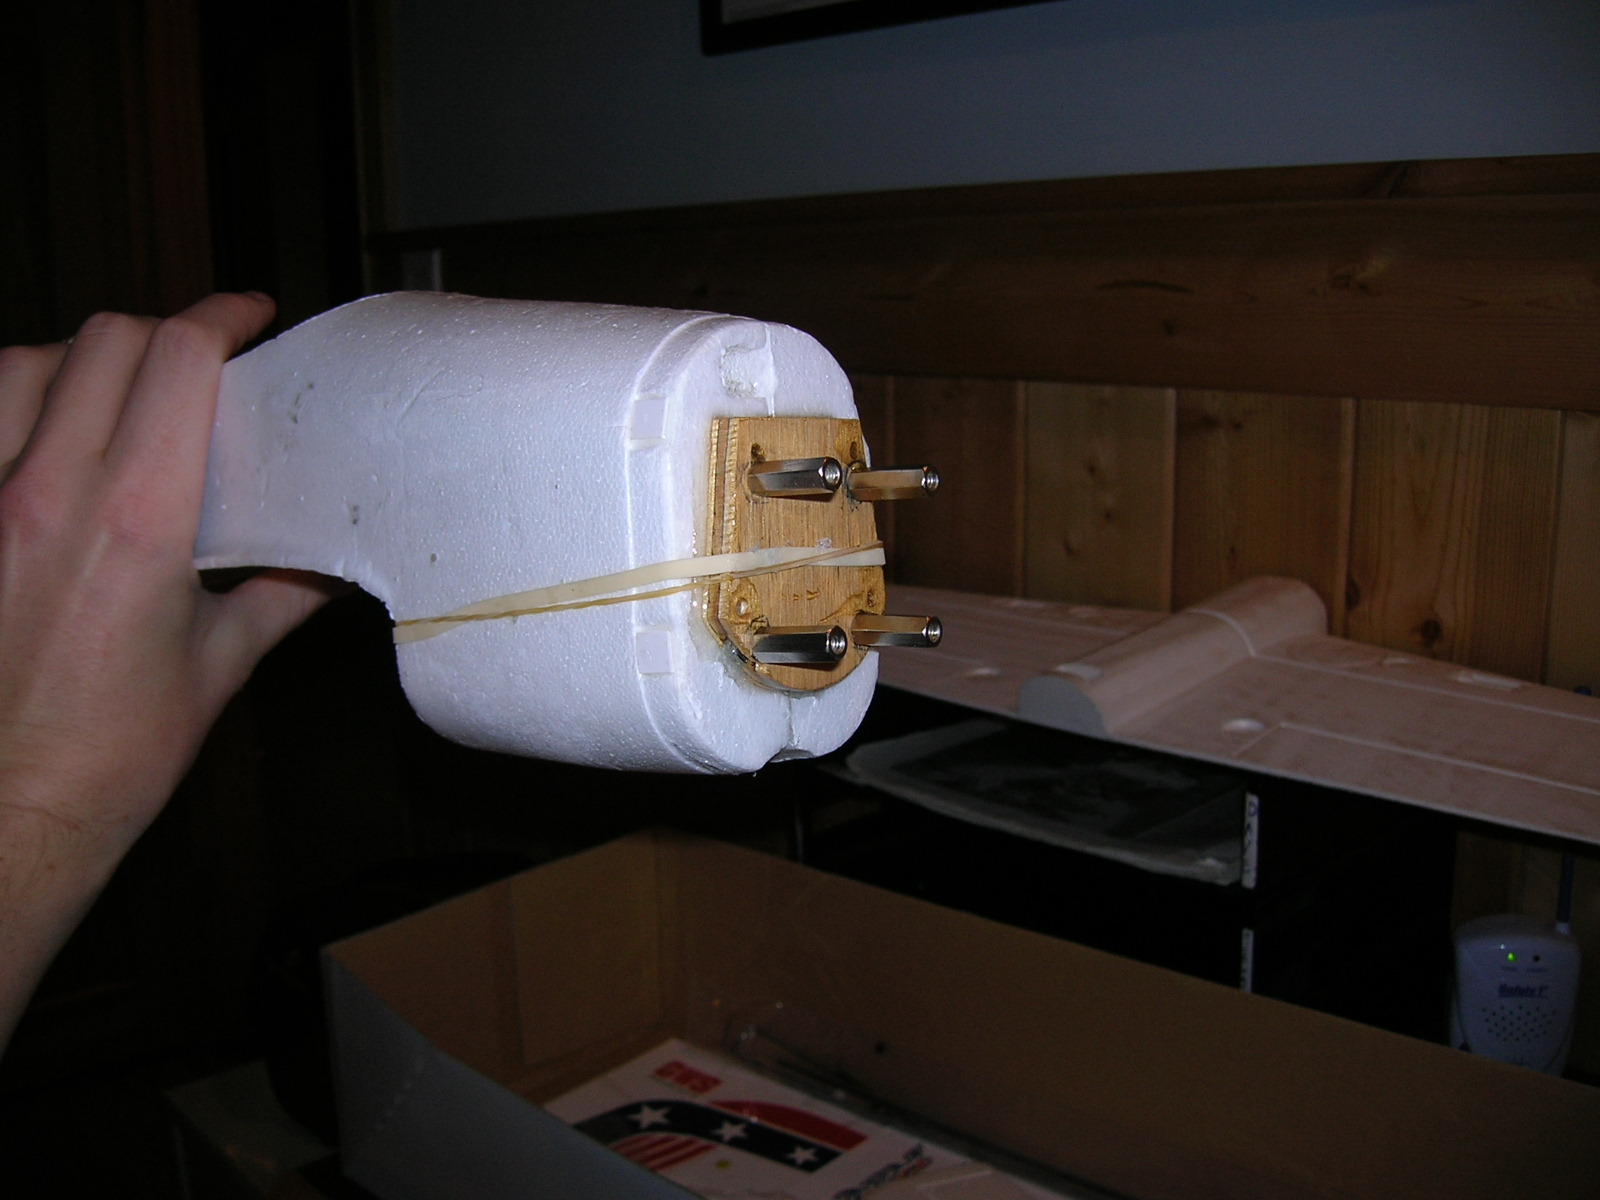
Next I glued my fuselage and motor mount onto the nose of the Formosa. I reused the mount I built for my now deceased HobbyZone Super Cub. The only differences are that I glued it on (using DevCon 5-minute epoxy) instead of screwing it on, and I turned it upside down. I fed the motor cables through the top hole in the nose. I use washers to adjust the thrust angle of the motor. Those metal posts are called hex stand-offs. You can buy them at Radio Shack for a couple dollars per set of 4.
The next step was to cut the ailerons, cover the wings in packing tape, and then hinge the ailerons. The pre-marked aileron lines are great — they take the guess-work out of choosing the aileron position and size. Just be sure your knife is perpindicular to the wing surface and that you are using a new blade. I used fine sand paper to make a 45 degree on the leading edge of the ailerons to allow them to hinge up and down. I used 3M Blenderm tape to hinge them, which I have used before with great success. I was equally pleased this time with how easy it is to work with. You can get the tape at a local hobby shop, but it’ll be labeled “hinge tape.” Be sure to pass a hair dryer over the tape after applying it to extend its life. I also strengthened the hinge tape’s bond with the wing by securing it with packing tape. Here’s what my ailerons look like:

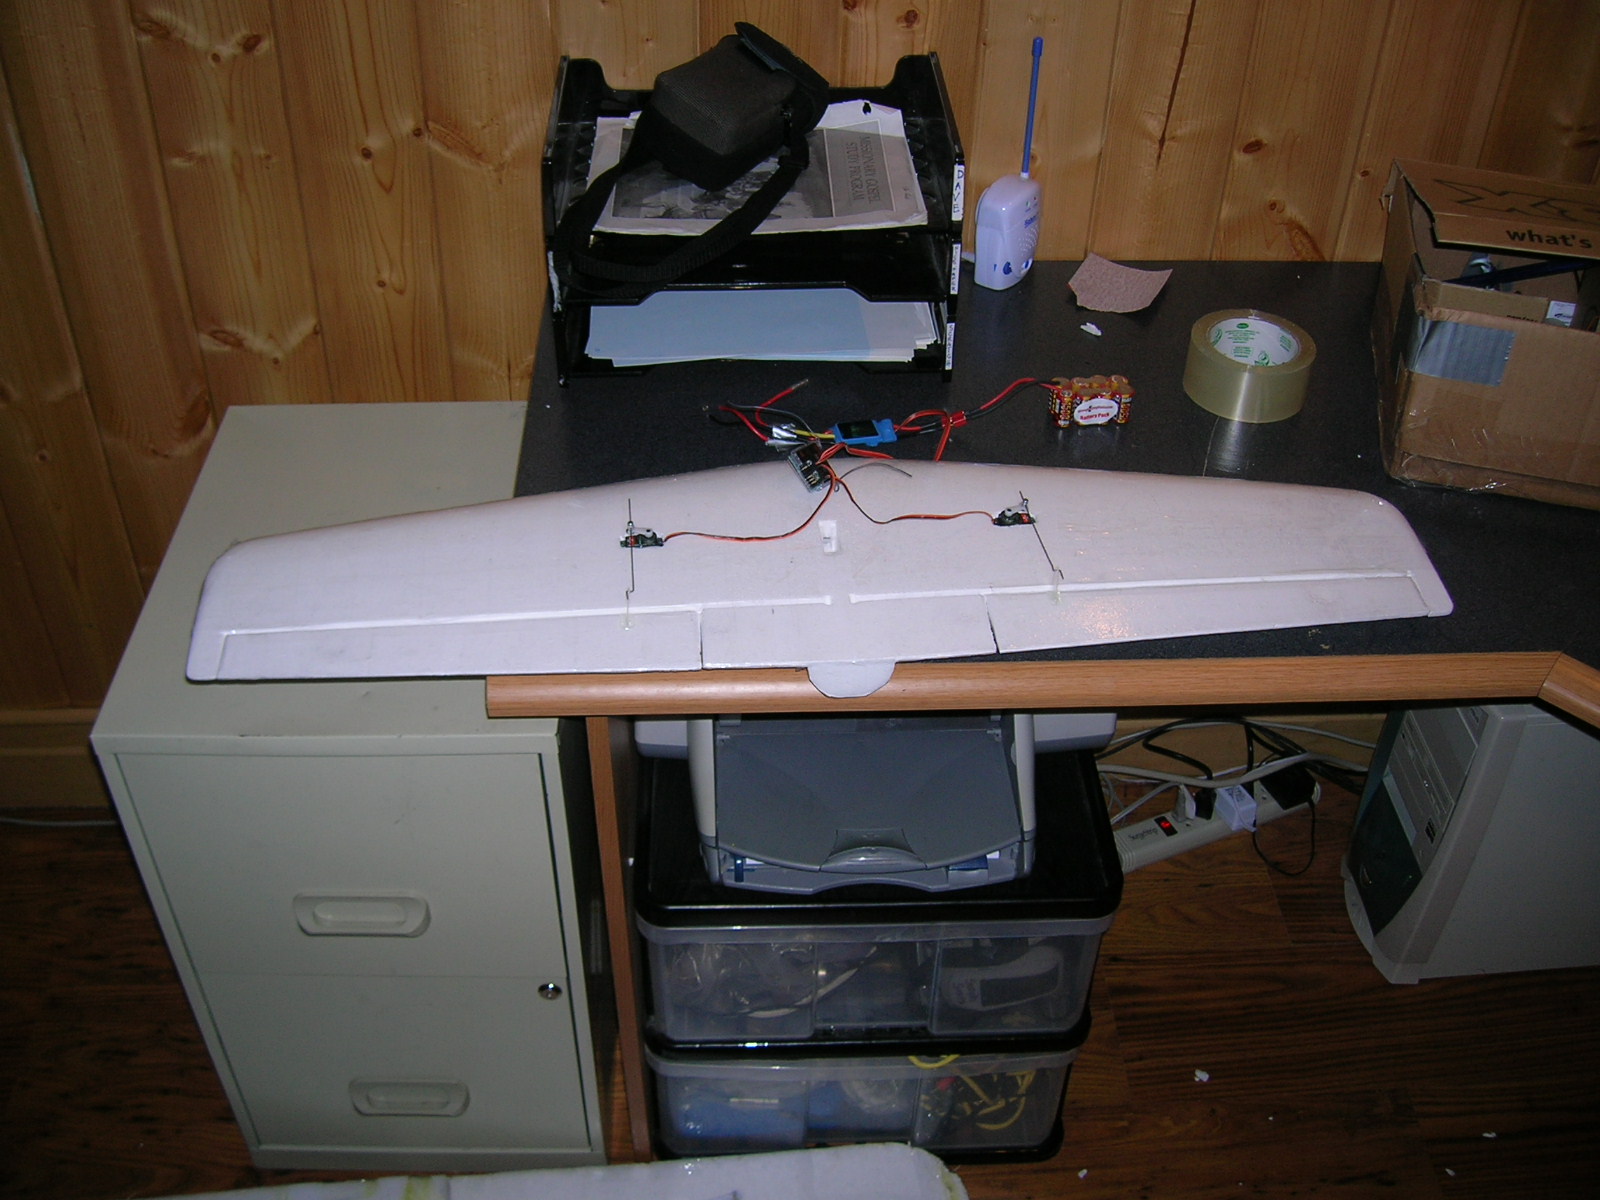
Next I dug out holes in the wing for two servos, one for each aileron. I don’t like the single servo setup. I’ve heard it leads to aileron slop, and I’ve done the two servo setup successfully before, so I chose it again this time. The servos are S75 models that came with my Spektrum DX6 radio. They are exactly as tall as the wing in the position I put them, which means you can see them from the top and the bottom. The packing tape keeps them from falling out the bottom, and I put a dab of hot glue on the top. They are nice and secure. I used the stock push rod and control horns on the ailerons with 5-minute epoxy:
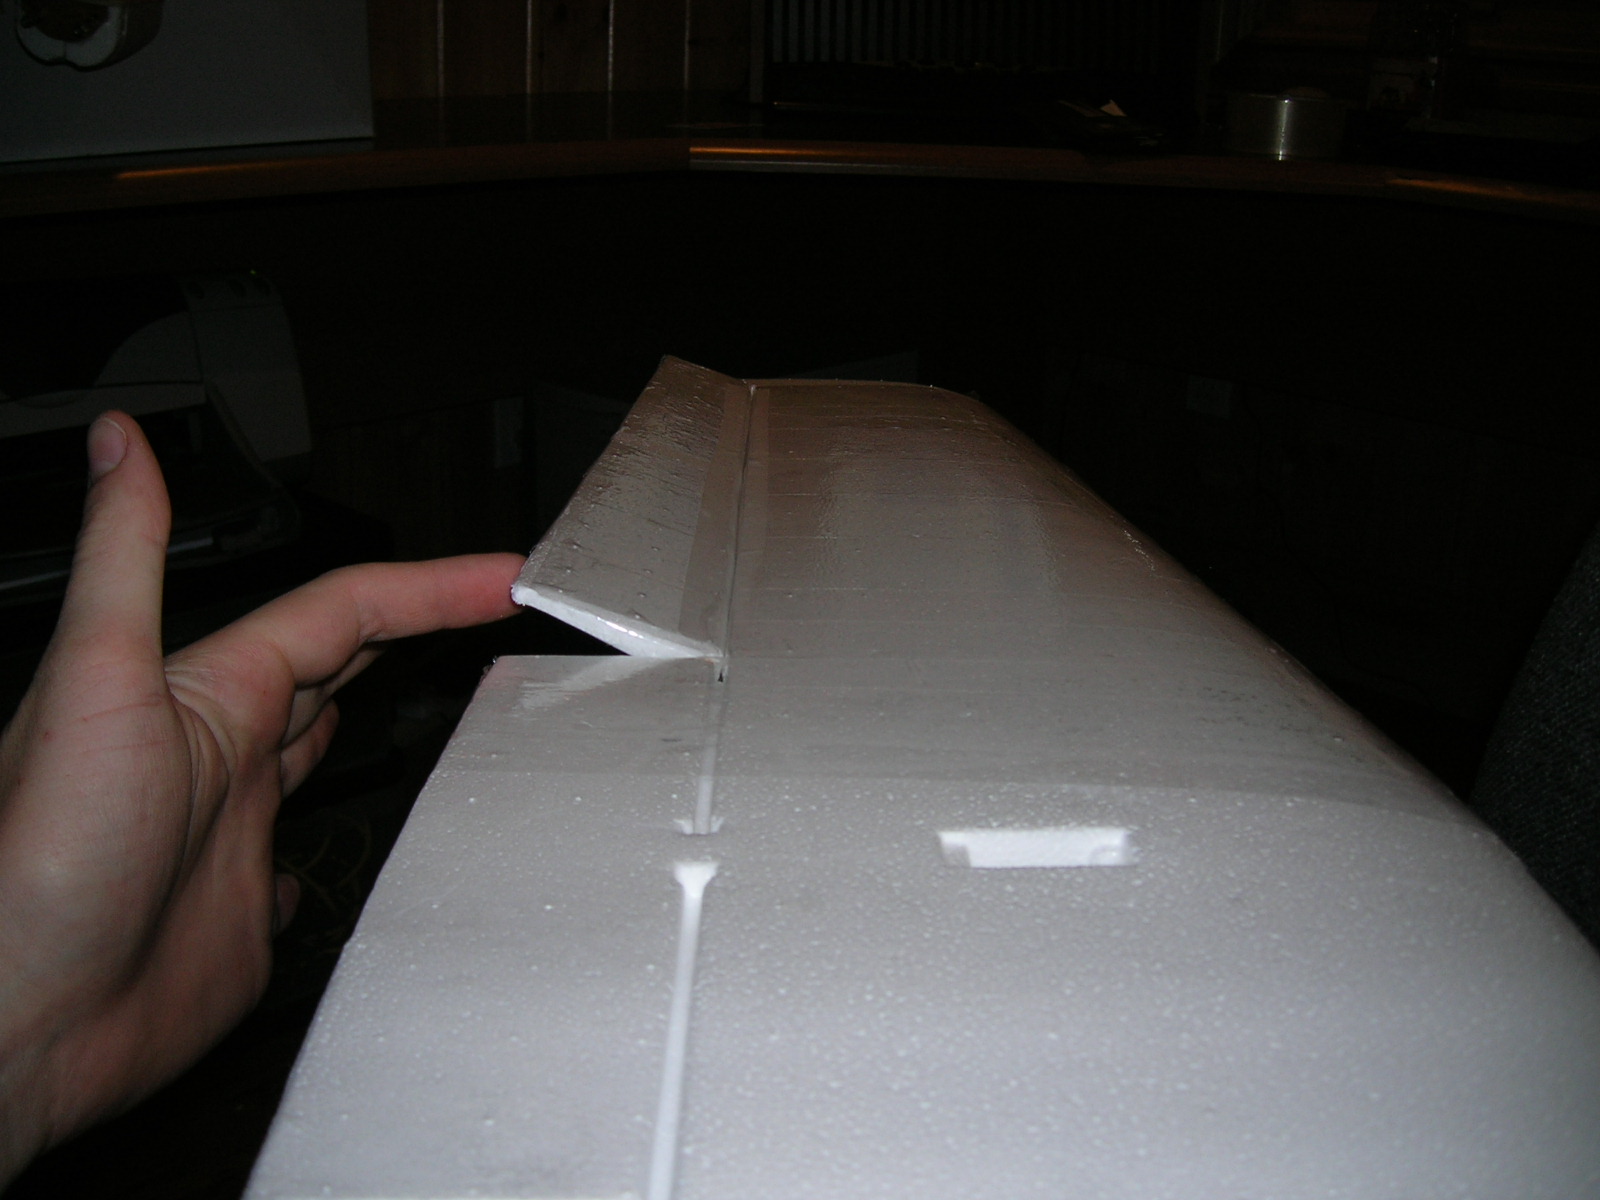
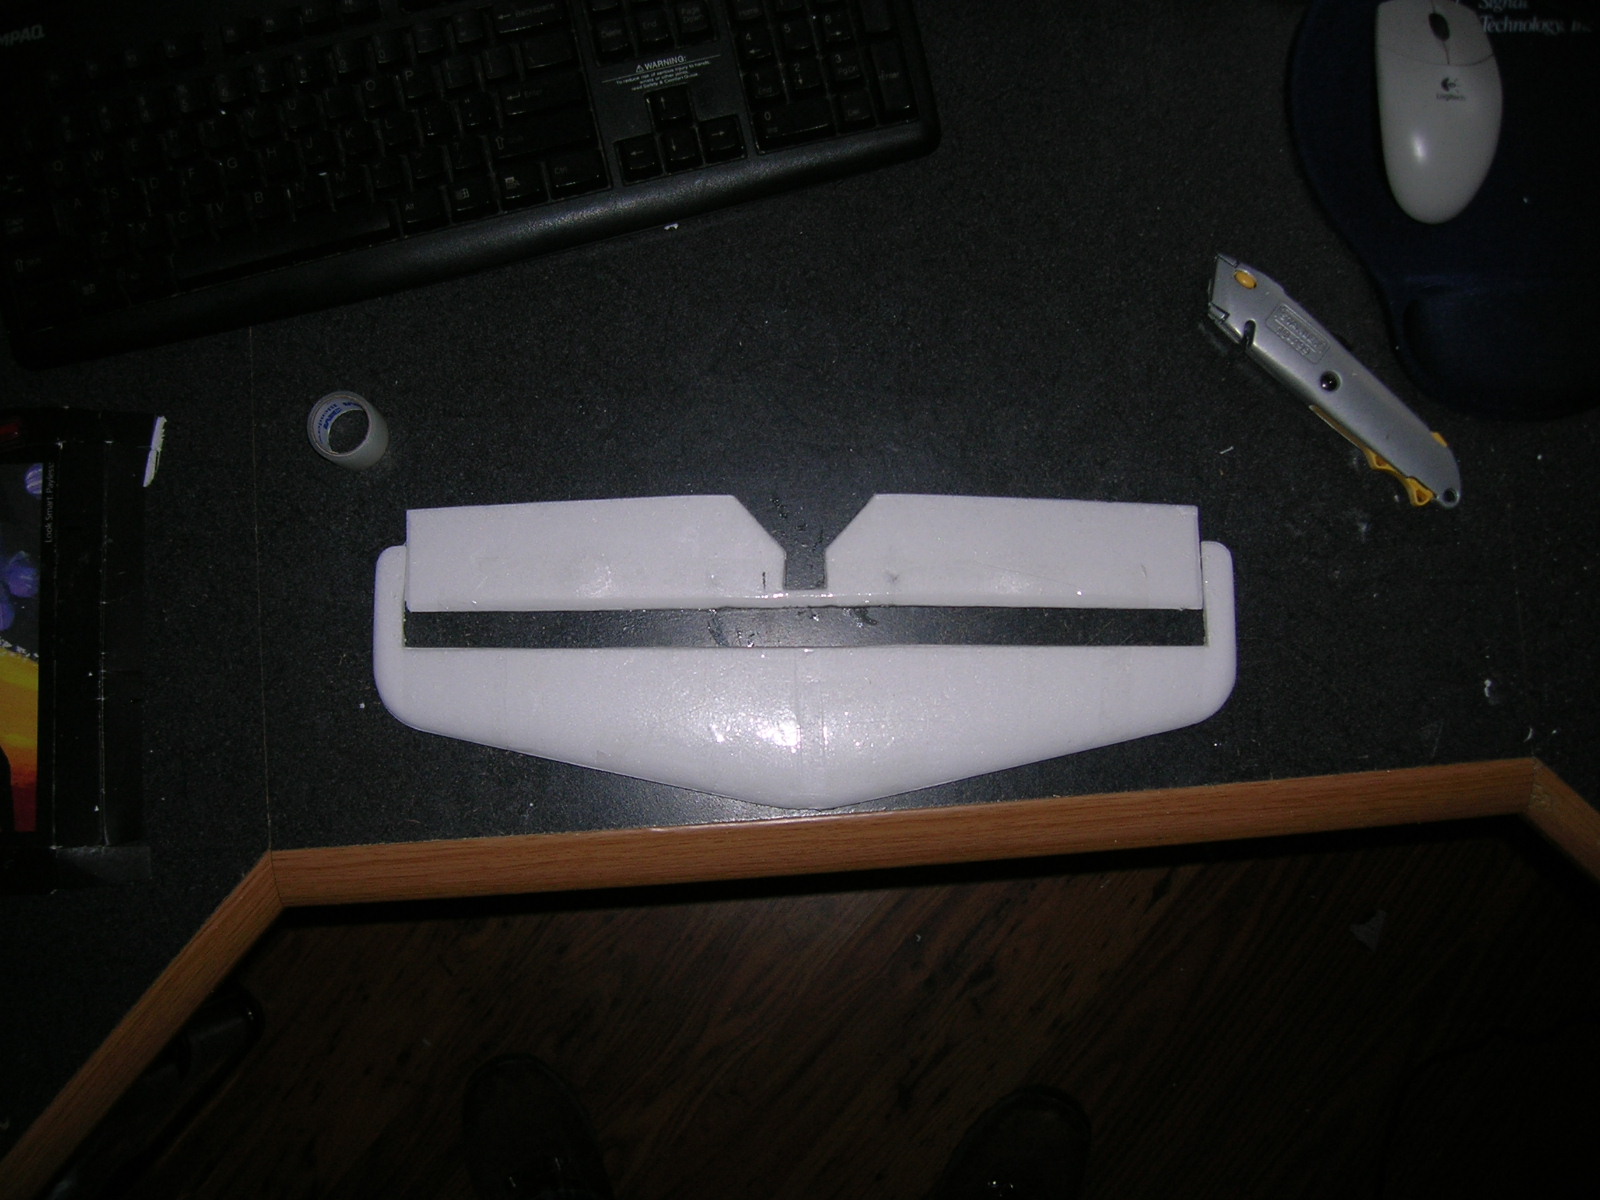
For the next step, I cut out the elevator from the horizontal stabilizer, and taped both pieces:
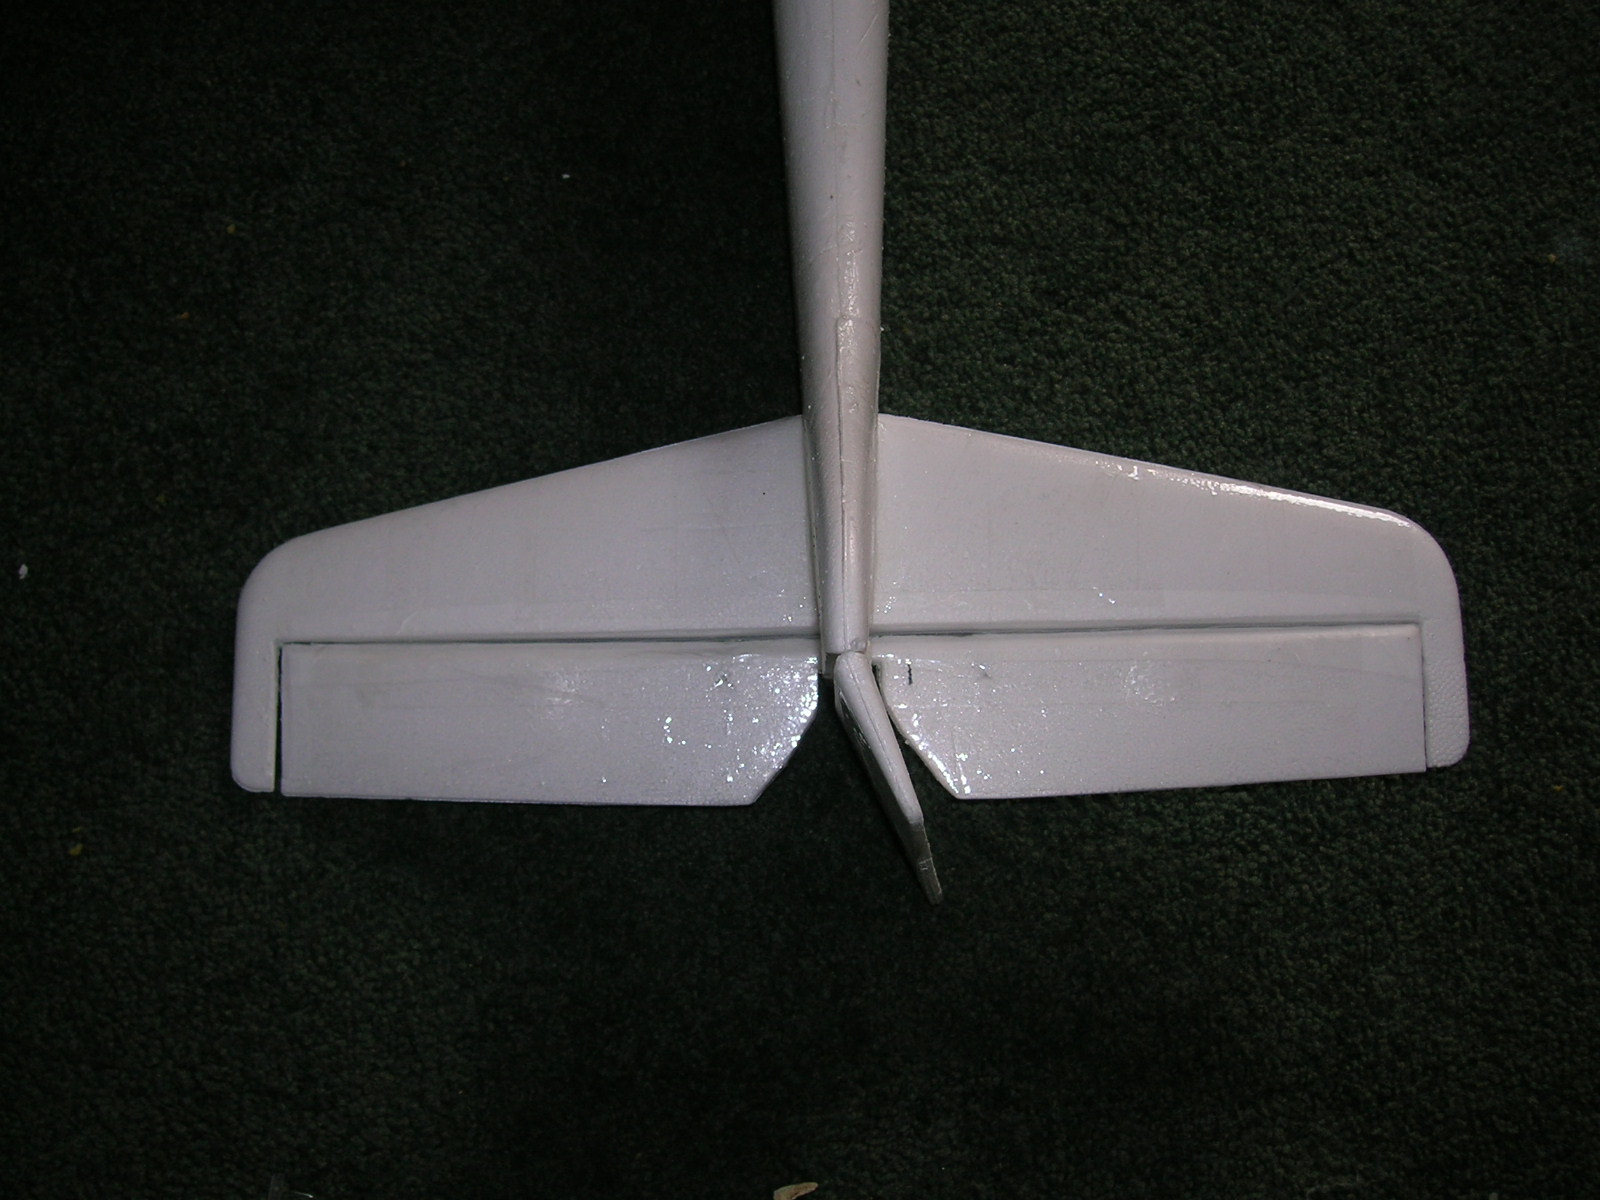
I inserted the elevator reinforcement wire that came with the kit, epoxied it in place, and hinged it with hinge tape. I also reinforced the thin area on the elevator with extra packing tape. I hope it holds!
Next I cut the rudder and sanded its leading edge down to 45 degrees and hinged it with tape. Here it is in action:
As I mentioned before, my motor is so heavy (it’s a Tower Pro 2908-10), that I needed to move my battery pack way back. It sits on the wing, centered just about directly over the reinforcement spar. I built a battery box out of cardboard, and used my Super Cub’s velcro strap to secure the battery. I hot glued the box to the wing, such that it slides right into the cock-pit when I put the wing on the plane. Here’s the battery box (also put on the decals):
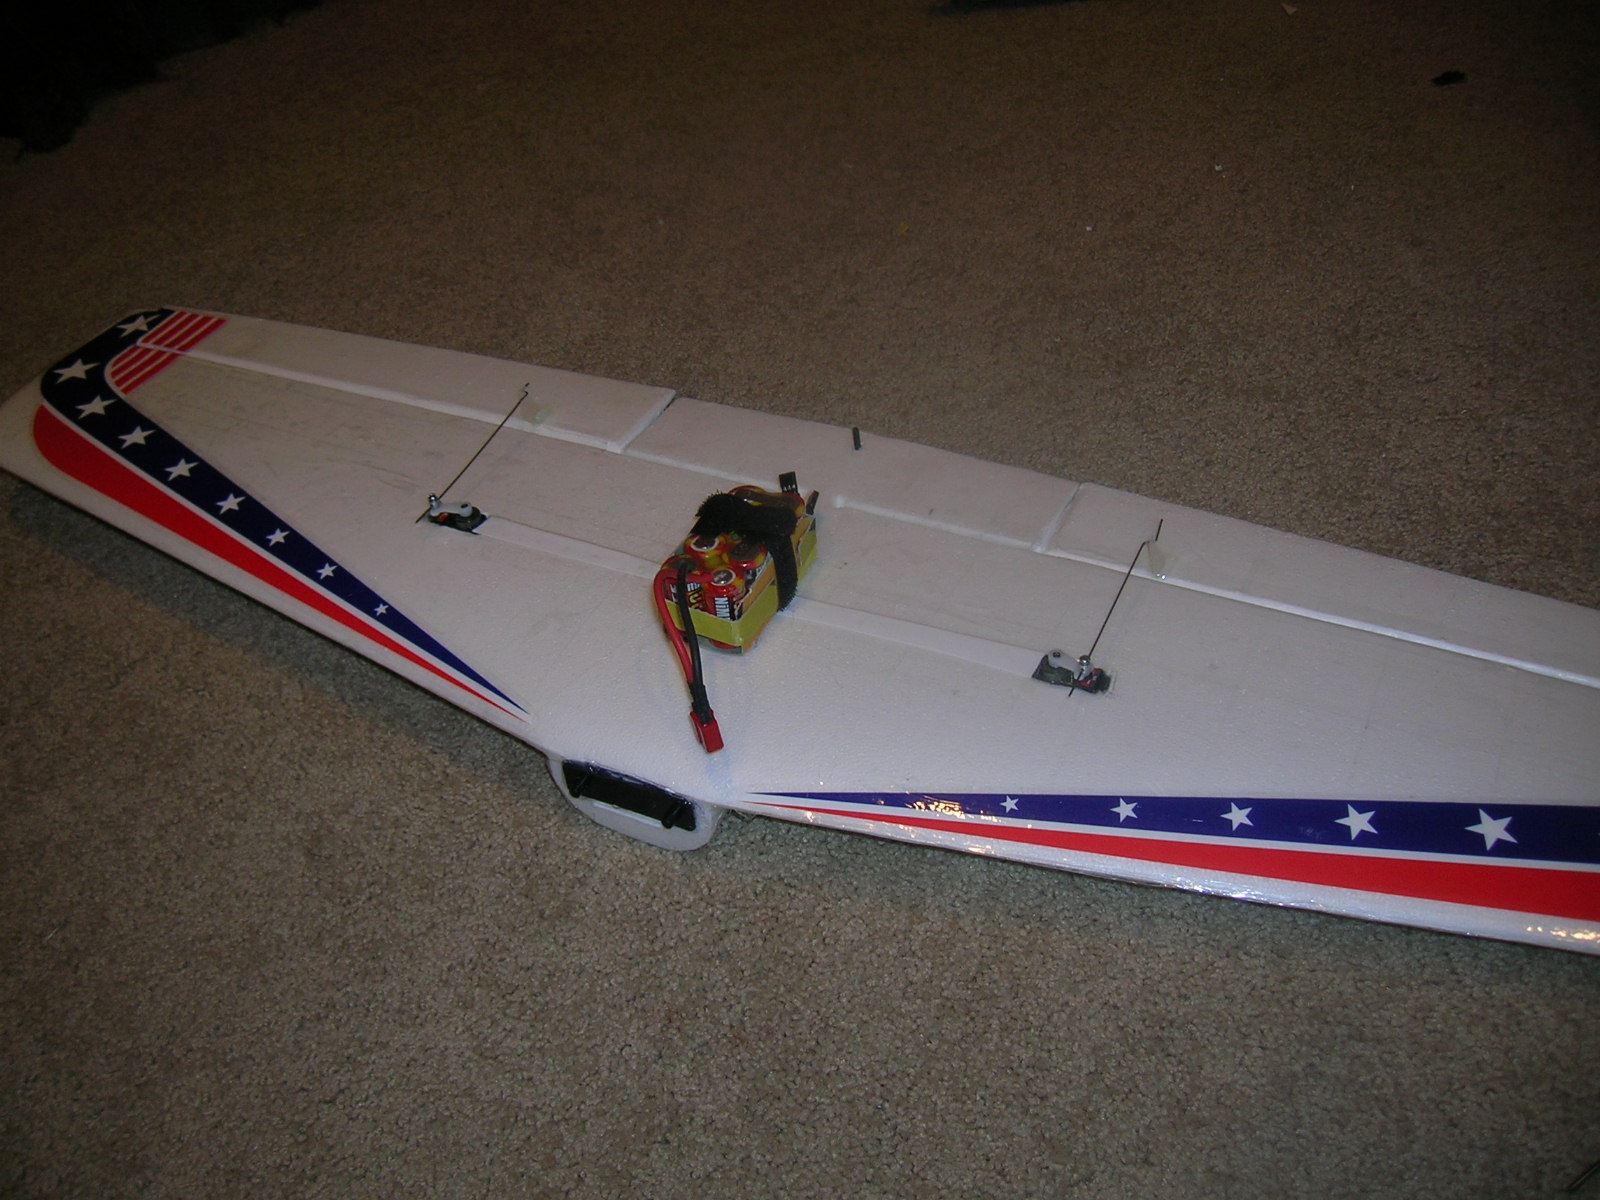
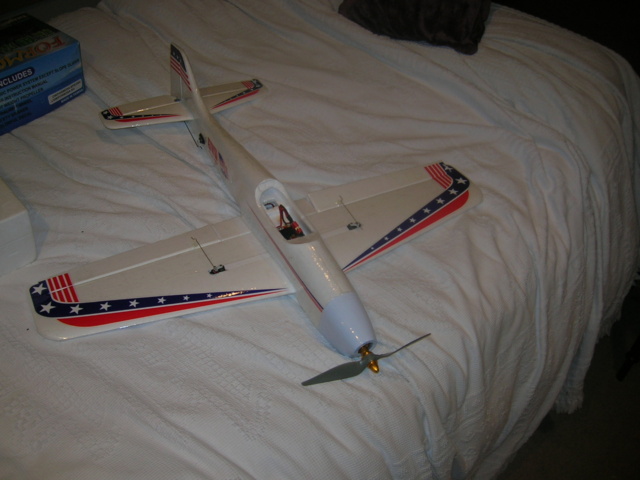
I secured the motor cowling with packing tape (too much hassle to screw it on), and gussied her all up with decals (with some help from my two girls, ages 5 and 3). Here it is ready to fly:

I hope it works out okay. It’s got one big motor, which means more thrust, but it also means more weight, and since my battery pack can’t supply tons of amps, it just might be a liability in the end. We shall see. I had to shove my AR6000 receiver under the cock-pit and behind the battery box, since my aileron servo cables just barely reached back there. I mounted the rudder and elevator servos right in the fuselage near the tail to make repairs easier. I had to use a 6″ servo extension wire to reach their cables all the way to the receiver, with a few inches to spare.
Unfortunately, the maiden flight won’t be until next week some time, so stay tuned for the fun!
3 comments to “R/C GWS Formosa Build”
Nice write-up Dave! Looking forward to hearing more about your new toy :)
Dave…
Ditto on the nice write up and pictorial. I must say… it looks RAPID…!!! Probably more than my eye/hand co-ordination could handle. Glad to see the electronics from the SC lived to fight another day. Can’t wait to see the flight video.
Need to get with you some day and pick your brain about the “flaperon” setup we are doing with our Spektrum radios. Everything (about the flaps) seem to work… but the minute I apply one click of throttle… the flaps jump back to neutral…??? Can’t find any “mixes” that are wrong. So not sure what I’m fighting on that little war. The DR7000 Rx has the standard four plugs (throttle, rudder, elev. & aleron) plus Gear, Aux 1 and 2. Running (as per manual) the left aleron into my Aux 1… so it should be good to go… but NOT. Just another hair-puller question mark.
Good luck with the Formosa… hope it has a LONG expiration date. Will be checking back for the updates.
Stan,
That’s very strange about your flaperons. Do the ailerons continue to function as expected with throttle engaged? I assume you have set your wing type to flaperon for that aircraft in the DX7? I use the DX6 as you know, so the setup I’m sure is a bit different. Good luck figuring out your brain-teaser.
–Dave